
I get a lot of questions that start with “Can you actually draw in Canva?” Yes, you can. It’s just hidden in a spot most people never look, and the tool is simpler than you’d expect.
The part nobody tells you: once you can draw in Canva, you can make your own doodles, underlines, arrows, and hand-lettered accents. Those make your templates look more personal, and they’re completely yours, which matters when you sell.
The short answer: open any Canva design, click Draw in the left sidebar, pick a pen, marker, or highlighter, choose a color and thickness, and draw on your page. Use the eraser to fix mistakes, and the select tool to move or resize each stroke afterward.
Canva has around 260 million monthly active users as of 2025 (DemandSage), so a lot of people are already in this editor. Very few of them use Draw, which is exactly why a few hand-drawn touches make your designs stand out.
Where Is the Draw Tool in Canva?
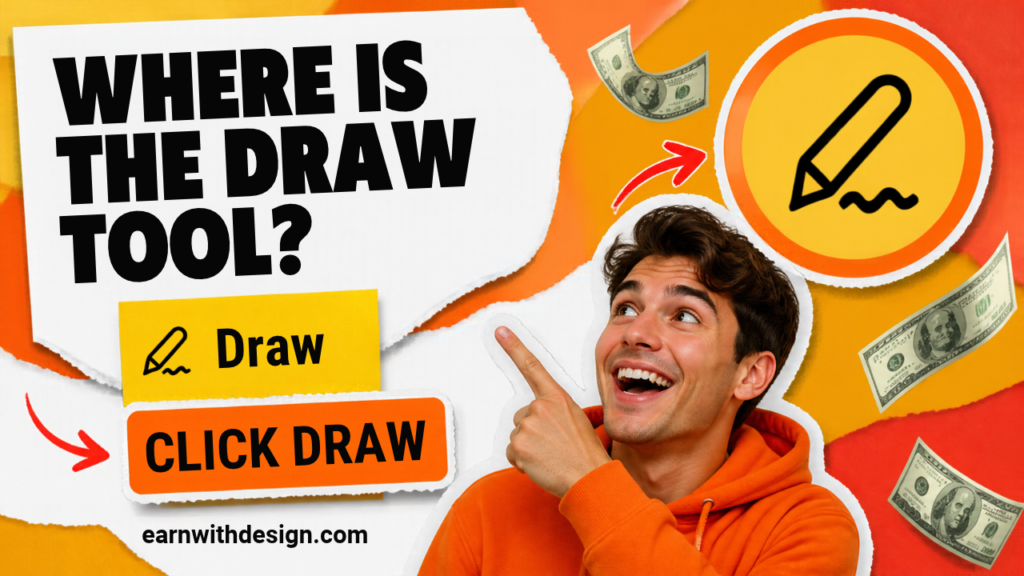
It lives in the left-hand menu inside the editor. Open or create a design, then look for the pencil icon labeled Draw. If you don’t see it, click Apps and search for “Draw.”
Click it and a small panel opens next to your canvas with your pen options. Canva labels this tool as a beta feature, so the layout can shift a little over time. If the button has moved since I wrote this, search “Draw” in the Apps section and you’ll find it.
Quick note on the Canva pen tool. People mix these up all the time. Draw is for freehand sketching. The pen tool (for precise vector paths) is a separate thing I cover in my Canva pen tool guide.
How Do You Draw in Canva Step by Step?
Here’s the exact flow, start to finish:
- Open a design. A blank Instagram post, a worksheet, or a planner page all work.
- Click Draw in the left sidebar.
- Pick your pen. You get a pen, a marker, and a highlighter. Use the pen for outlines and handwriting, the marker for bold shapes, and the highlighter for soft color behind text.
- Set your color and size. Choose from your palette, then set the thickness with the slider or by typing an exact number.
- Adjust transparency if you want a see-through effect, like a highlighter swipe over a heading.
- Draw on the page. Hold your mouse button (or use a stylus or your finger on a tablet) and move across the canvas.
- Click the eraser to remove mistakes, or select a stroke and hit delete.
- Switch to the select tool to move, resize, or recolor any stroke you drew.
That last step is the one people miss. Every stroke you draw becomes its own element, so you aren’t stuck with a mistake. Draw first, fix later.
How Do You Fix Wobbly Lines in Canva Draw?
Draw with your mouse and your lines will wobble. That’s normal, and it’s the number one reason people give up on this tool. Here’s what actually works:
- Draw short strokes. Long continuous lines show every shake. Short, confident strokes look clean.
- Use a tablet or stylus if you have one. A cheap drawing tablet changes everything.
- Make it bigger, then shrink it. Draw on a larger canvas, select the strokes, and resize them down. Wobbles shrink with the drawing.
- Lean into the imperfect look. Hand-drawn underlines and circles are supposed to look hand-drawn. Don’t fight it.
- Use the pen tool for anything that must be straight or perfect. Draw is for the casual stuff.
I show how I combine drawing with design elements to build custom assets in this video:
What Can You Draw in Canva (That’s Actually Useful)?
Don’t try to paint a masterpiece. Draw small things that upgrade your designs:
- Underlines and swooshes under key words in a title
- Arrows that point at the important part of a template
- Circles and scribbled highlights around a price or a button
- Simple doodles like stars, hearts, sparkles, and borders
- Signatures or a hand-lettered “thank you”
- Checkboxes and tick marks for planners and trackers
These tiny details are what make a template feel human. A planner full of clean boxes and a few hand-drawn arrows looks like it came from a real person, not a factory.
Can You Sell What You Draw in Canva?
Yes, with one big rule: sell your own drawings, not Canva’s elements.
Here’s the part that trips beginners up. Anything you draw yourself with the Draw tool is your own original artwork. But if you build a “clipart pack” out of Canva’s stock graphics, that breaks Canva’s content license, because you can’t sell Canva elements on their own. If you’re unsure, read my full breakdown in Can You Sell Templates Made With Canva Elements? before you list anything.
So the safe version looks like this:
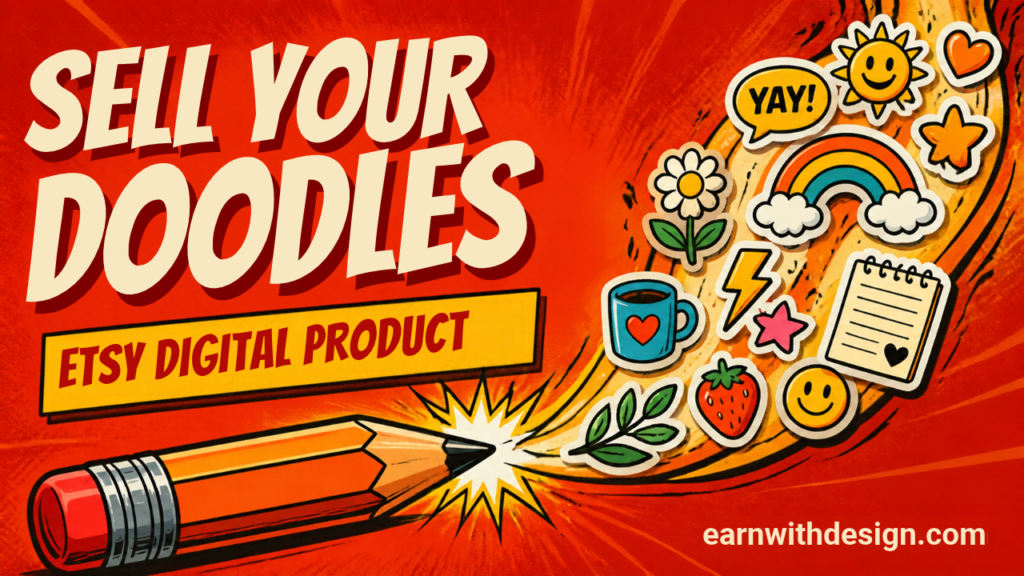
- Hand-drawn doodle sets you drew yourself, exported as transparent PNGs
- Templates with your drawn accents baked into the layout
- Planner pages with hand-drawn headers, checkboxes, and dividers
- Worksheets and workbooks with doodled borders and arrows
- Printable sticker sheets made from your own artwork
Exporting with a transparent background requires Canva Pro. I walk through whether you need it in Do You Need Canva Pro to Sell Digital Products?. If you’re just starting, you can design with free tools and upgrade once the first sales come in.
How Do You Turn Canva Drawings Into a Digital Product?
Here’s the simple path I’d follow if I were starting from zero this week:
- Draw one set. Pick a theme: wedding doodles, planner icons, teacher doodles, or boho borders. Draw 15 to 25 pieces.
- Clean them up. Resize, recolor, and line them up on a single page.
- Export as transparent PNGs (needs Pro) or as a single-page PDF preview.
- Add a mockup. Show how the doodles look inside a planner or a template. I cover that in my digital product mockups guide.
- List it on Etsy with a clear title, 13 tags, and a licence note. If you need a refresher, start with how to start an Etsy shop for digital products.
- Promote it on Pinterest. A pin showing the doodles in use brings in steady traffic. Here’s the exact approach: how to use Pinterest to drive traffic to Etsy digital products.
If drawing doesn’t feel like your thing, that’s fine. Honestly, for most beginners I’d start with templates and planners and use drawing only as the finishing touch. And if you need extra fonts or licensed graphics to fill the gaps, Creative Fabrica is where I look, and I always read the license on each item before I use it in something I sell.
Is Canva Draw Good Enough, or Do You Need Another App?
For quick accents, Canva Draw is plenty. If you want to draw full illustrations with layers, brushes, and real pressure control, you’ll outgrow it and a dedicated drawing app on a tablet will serve you better. The nice middle path is to draw elsewhere, upload the artwork to Canva, and finish the layout there.
My rule: use Draw for speed, and use an illustration app only if illustration becomes the product you sell.
Make a Short Video of Your Drawing Process
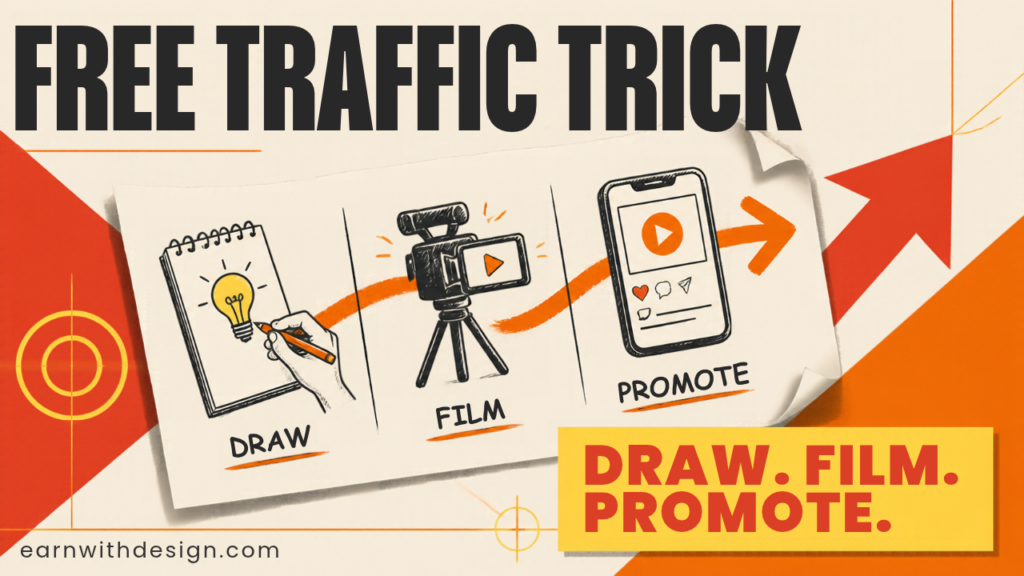
This is a free traffic trick. Screen-record yourself drawing a set of doodles in Canva, speed it up, and cut it together in CapCut. “Watch me draw this in Canva” videos do well on YouTube Shorts, Pinterest, and Reels, and each one points back to this post and your shop.
If you’d like to catch people who watch but don’t buy, offer a free doodle pack and send it through an email tool like Systeme.io. That turns a viewer into a subscriber, and that’s the start of a real buyer journey.
Your 60-Minute Plan to Try This This Week
You don’t need a long block of time. Here’s how I’d split one hour:
- 15 minutes: open Canva, click Draw, and practice 10 underlines, 10 arrows, and 10 circles.
- 20 minutes: drop your best ones into one of your existing templates.
- 15 minutes: export, screenshot, and make a Pinterest pin of the before and after.
- 10 minutes: write the Etsy listing title and tags for a small doodle pack.
One core piece of content, used across Pinterest, YouTube, and your shop. That’s the weekly system.
Disclosure: some links in this post are affiliate links. I may earn a commission at no extra cost to you. Canva features and limits change often, so check the current Canva interface and license terms before you list products.
Grab My Free 30-Day Content Planner
Grab my free 30-Day Action Content Planner for Canva: https://earnwithdesign.com/30-day-action-content-planner-canva/ – plan one core topic a week and repurpose it everywhere. More free files and lead magnets are at lead.earnwithdesign.com.
Frequently Asked Questions
How do I draw in Canva?
Open a design, click Draw in the left sidebar, choose a pen, marker, or highlighter, set your color and size, and draw on the page. Use the eraser to fix mistakes and the select tool to move or resize strokes.
Does Canva have a drawing tool?
Yes. Canva has a Draw tool with a pen, marker, highlighter, and eraser. It’s labeled as a beta feature, so look in the left sidebar or search for “Draw” under Apps if you can’t find it.
Can you draw on Canva with a mouse?
Yes, but lines will look wobbly. Draw short strokes, make your drawing larger and then shrink it, or use a stylus or tablet for smoother lines.
Is Canva Draw free?
Draw is available in the Canva editor on the free plan as far as I know, but features can change, so check your account. Exporting transparent PNGs of your drawings needs Canva Pro.
Can I sell drawings I make in Canva?
You can sell your own original drawings, such as doodle sets, planner accents, or sticker sheets. You can’t sell Canva’s stock elements by themselves, so keep Canva graphics out of any asset pack.
What’s the difference between Canva Draw and the pen tool?
Draw is for freehand sketching with pens and markers. The pen tool is for precise vector paths and shapes. Use Draw for casual accents and the pen tool when you need clean, exact lines.
Related reading on EarnWithDesign: