Are you ready to elevate your video editing game? The Canva video editor is here to help you create stunning content effortlessly. In this blog, we'll delve into the features and techniques that make Canva a vital tool for both beginners and seasoned creators.
Introduction to Canva Video Editor
The Canva video editor is a game-changer for anyone seeking to create engaging videos without the steep learning curve associated with traditional editing software. It's intuitive, user-friendly, and completely free, making it accessible for everyone from beginners to advanced users. With the Canva video editor, you can effortlessly trim clips, add text animations, and incorporate music—all in one place. The power of this tool lies in its simplicity and the ability to enhance your content with just a few clicks.
Creating Your First Project
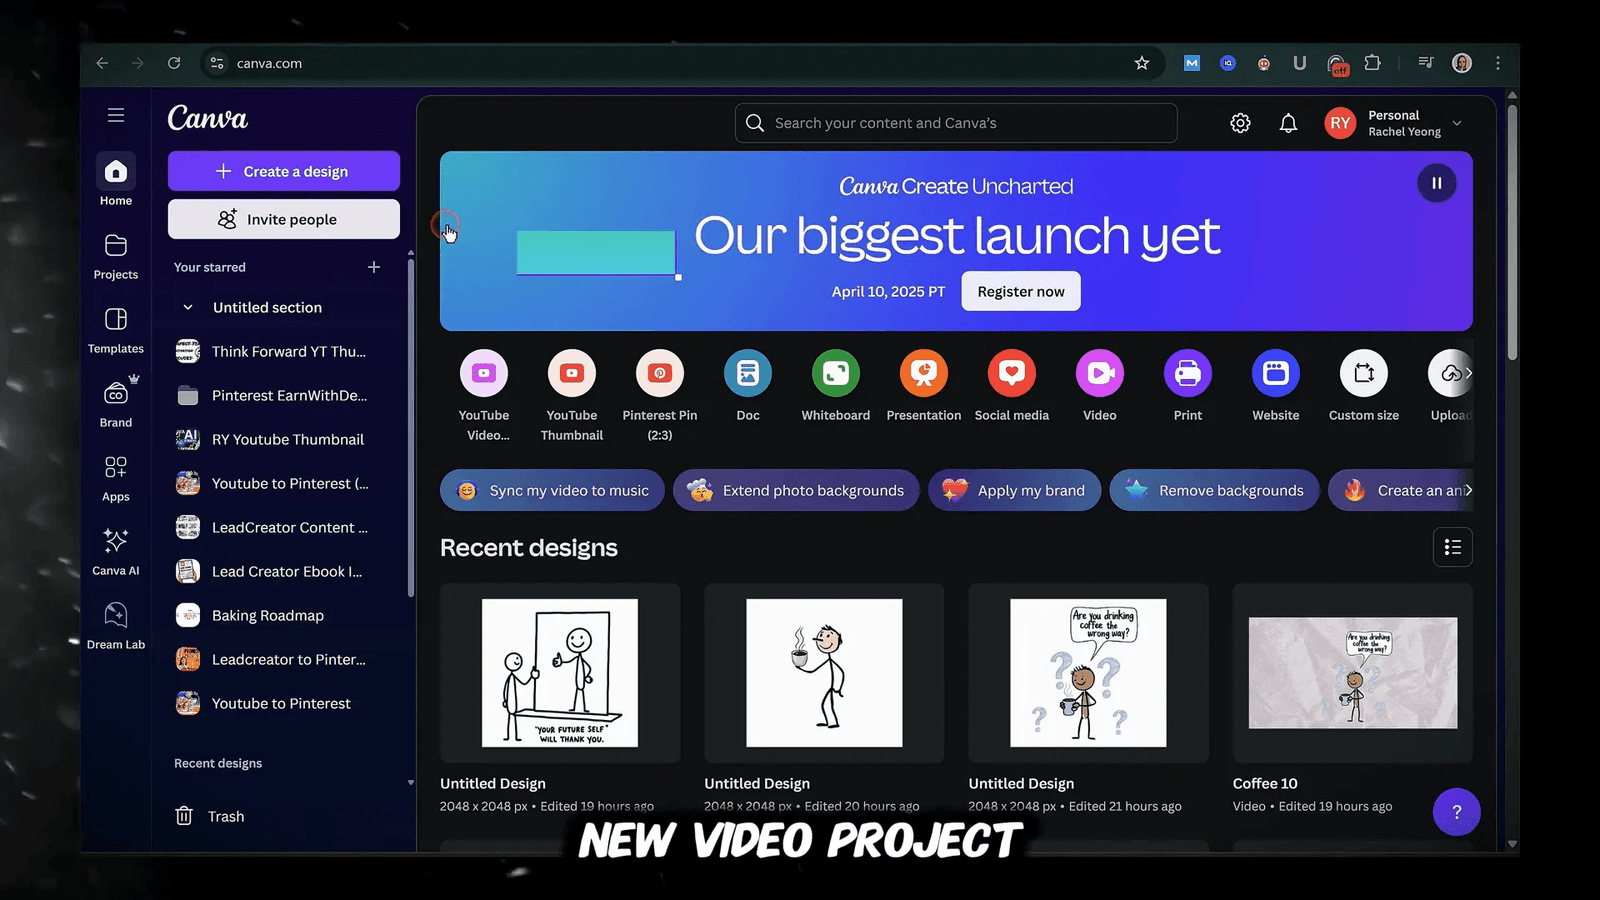
To get started, you’ll need a Canva account. If you don’t have one yet, head over to canva.com to sign up—it only takes a few minutes! Once you’re logged in, the home screen will greet you. Click on the “Create a Design” button in the top right corner, and you’ll see a variety of presets for different types of content.
Select “Video” to get the perfect dimensions for your project. Canva offers tons of templates to help you get started, but for this tutorial, let’s create a video from scratch. This way, you can familiarise yourself with all the essential features and tools available in the Canva video editor.
Navigating the Interface
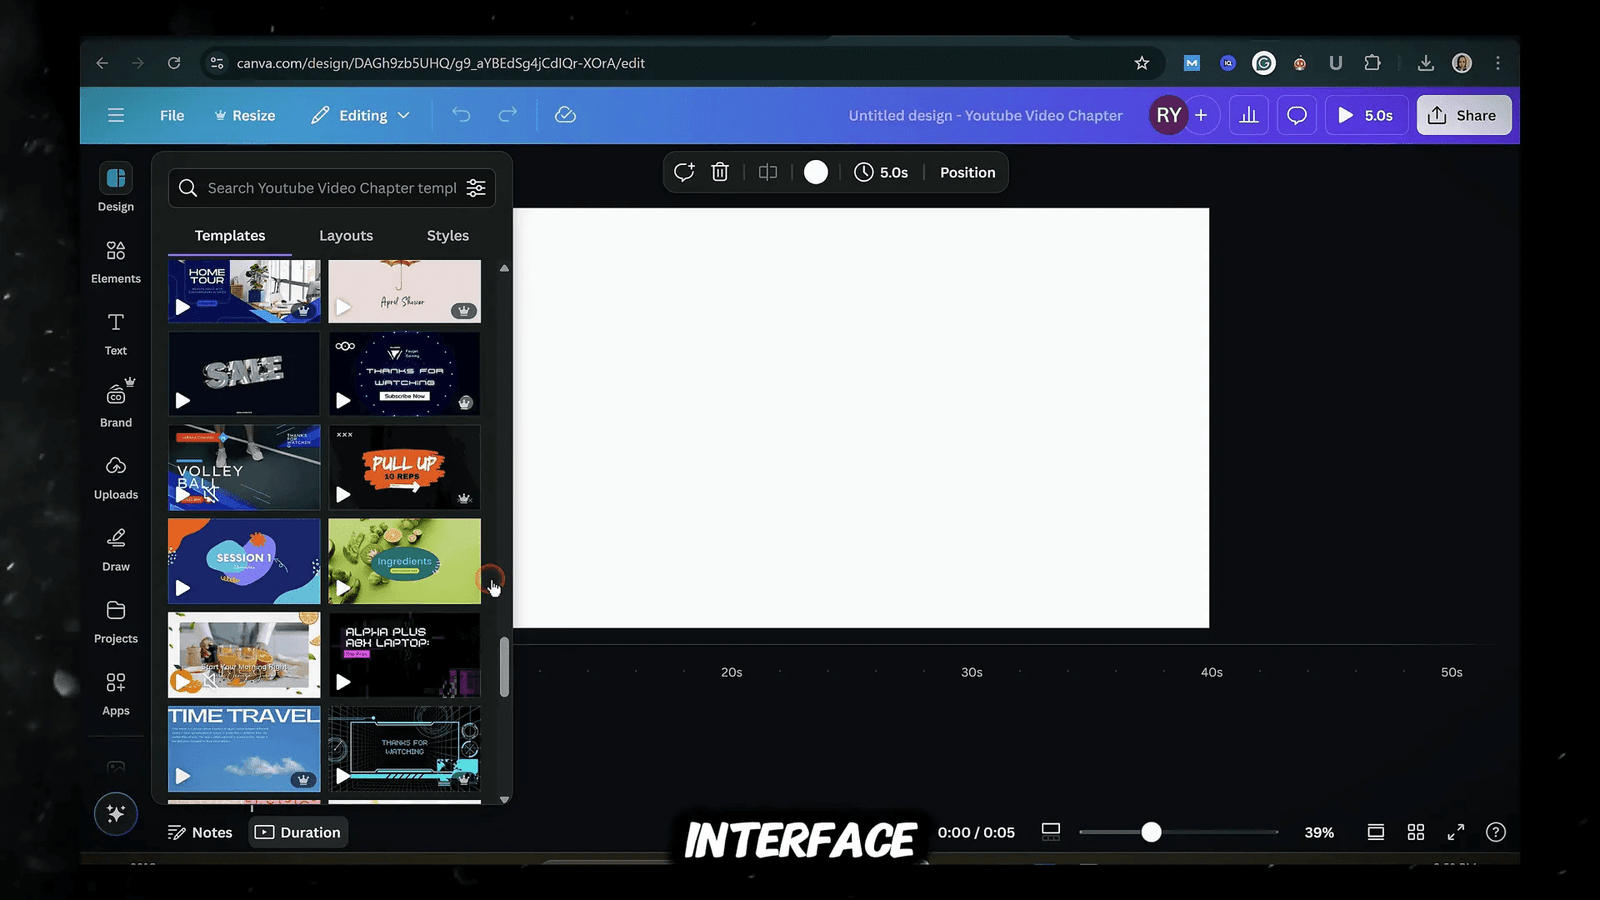
Now that you have your new project open, let’s quickly walk through the interface. At the top, you’ll find the menu bar, which offers various editing options. On the left, the design tab houses elements you can add to your projects. At the bottom, you’ll see the timeline where all your clips will appear. There is also a zoom slider at the bottom to adjust your working screen for improved visibility.
In the bottom right, you’ll find the preview area. Clicking on it allows you to see your video in full screen. Ensure you are in “Durations View” rather than “Slide View” for a proper timeline setup. This view is crucial for effective video editing.
Uploading and Managing Footage
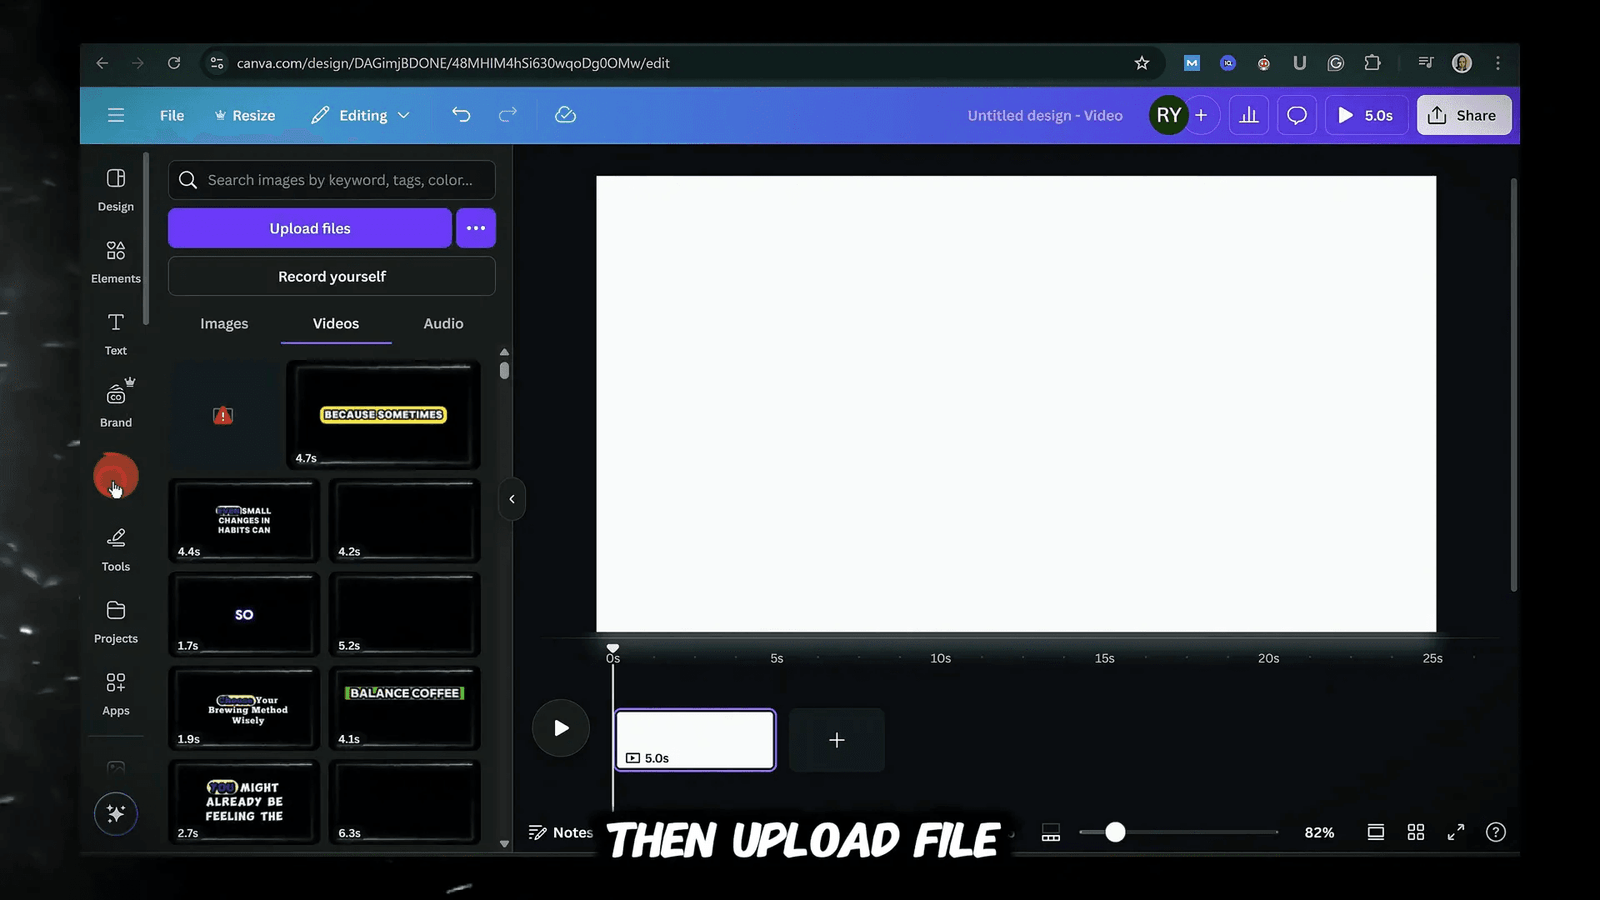
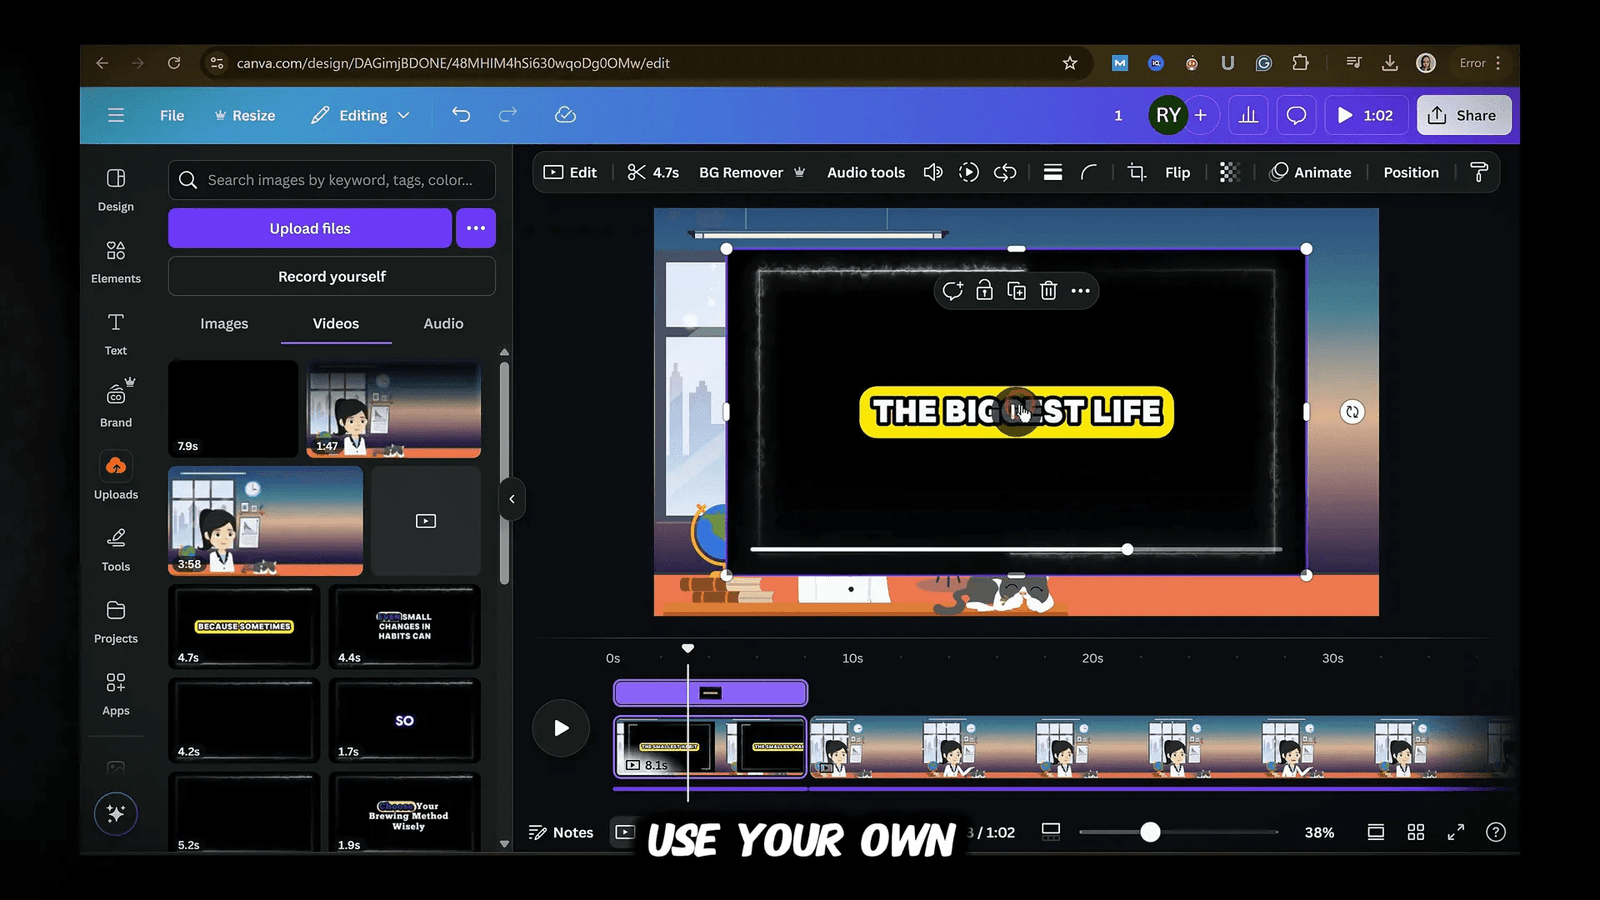
Let’s bring in some footage! Click on “Upload” in the left panel, then select “Upload File.” You can upload multiple files by holding the control key while clicking. Canva also allows you to record directly into the editor by clicking “Record Yourself,” which is perfect for capturing video on the spot.
Once your videos are uploaded, simply drag them down to the timeline. If your video doesn’t fit the canvas, you can resize it by clicking and dragging the corners until it fits perfectly. To edit, click “Edit” at the top. A left menu will appear, offering features such as background removal and highlights.
Trimming Clips: Three Methods
Trimming your clips is essential for creating a polished final video. There are three primary methods to trim clips in the Canva video editor:
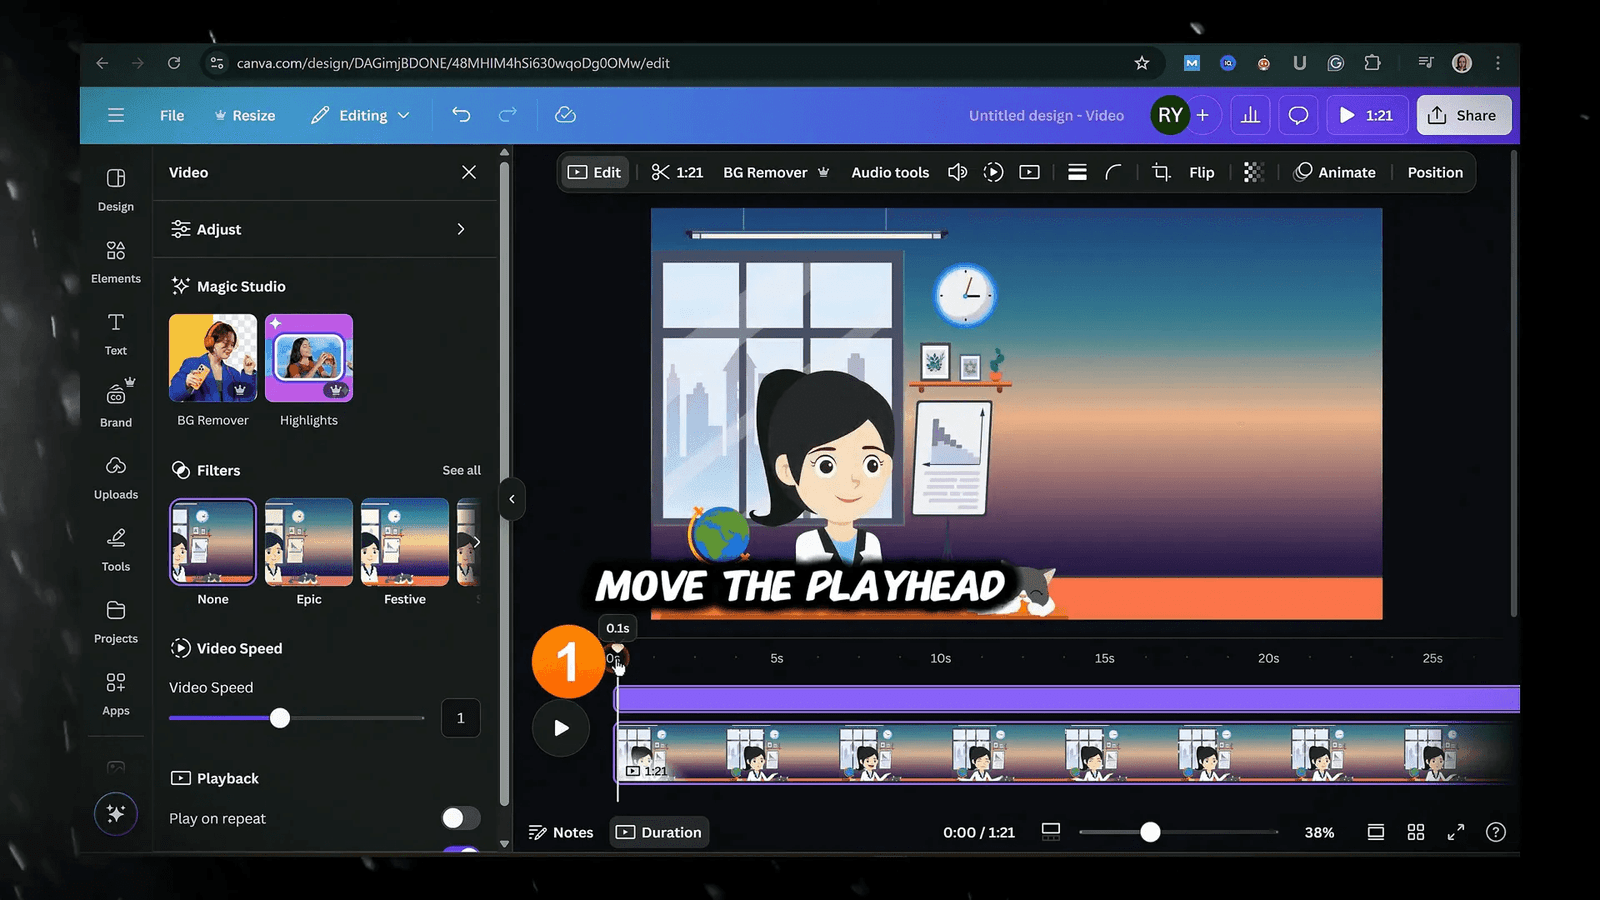
- Split Function: Move the playhead to where you want to make a cut, right-click, and select “Split Page,” or simply press ‘S’ on your keyboard. This creates two separate clips that you can delete or move independently of each other.
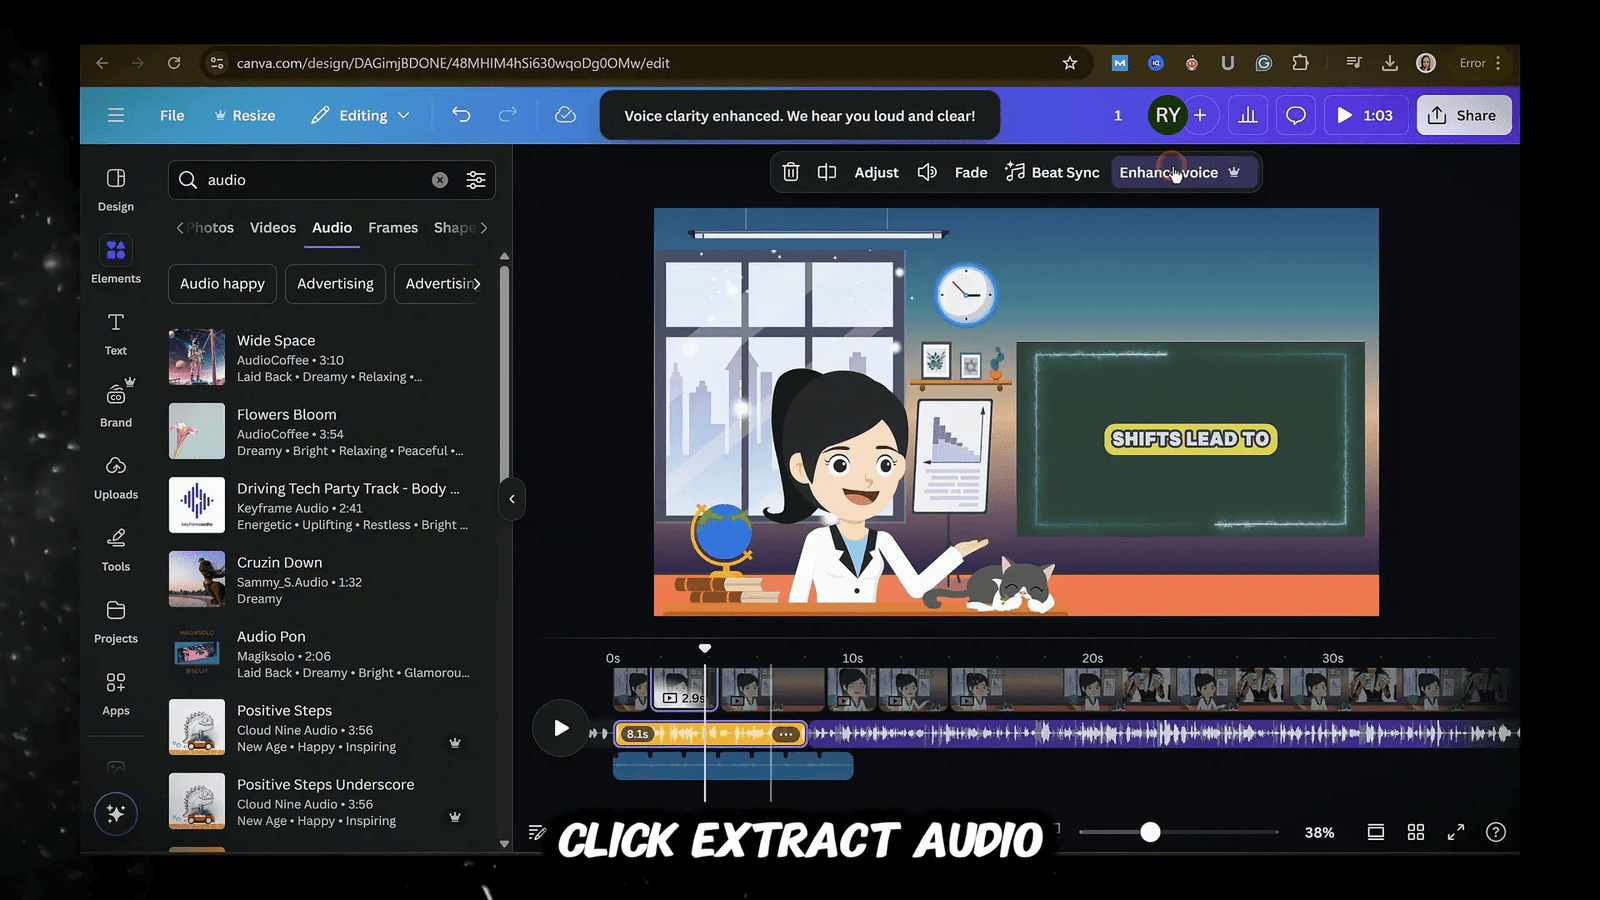
- Trim from the Edge: Hover your cursor over the beginning or end of the clip until you see the handle appear. Click and drag to adjust the clip length. Audio as a Guide: Select your video, right-click on it, and choose “Extract Audio.” This reveals a separate audio track that shows your speaking patterns, making it easier to identify and remove awkward pauses.
Adding B-Roll and Overlays
To make your videos more dynamic, adding B-roll footage or overlaying it is a great technique. Select the clip in your timeline where you want to add the overlay, then drag another video from your uploads into the canvas timeline. You can either use your video or explore the Canva elements library for additional options.
Please note that some elements may require a paid subscription; however, numerous free options are also available. Resize the overlay clip and position it as needed while the original clip continues to play in the background. Control how long the overlay appears by splitting your clips where you want the overlay to end, then deleting it from that section.
Text and Customization Techniques
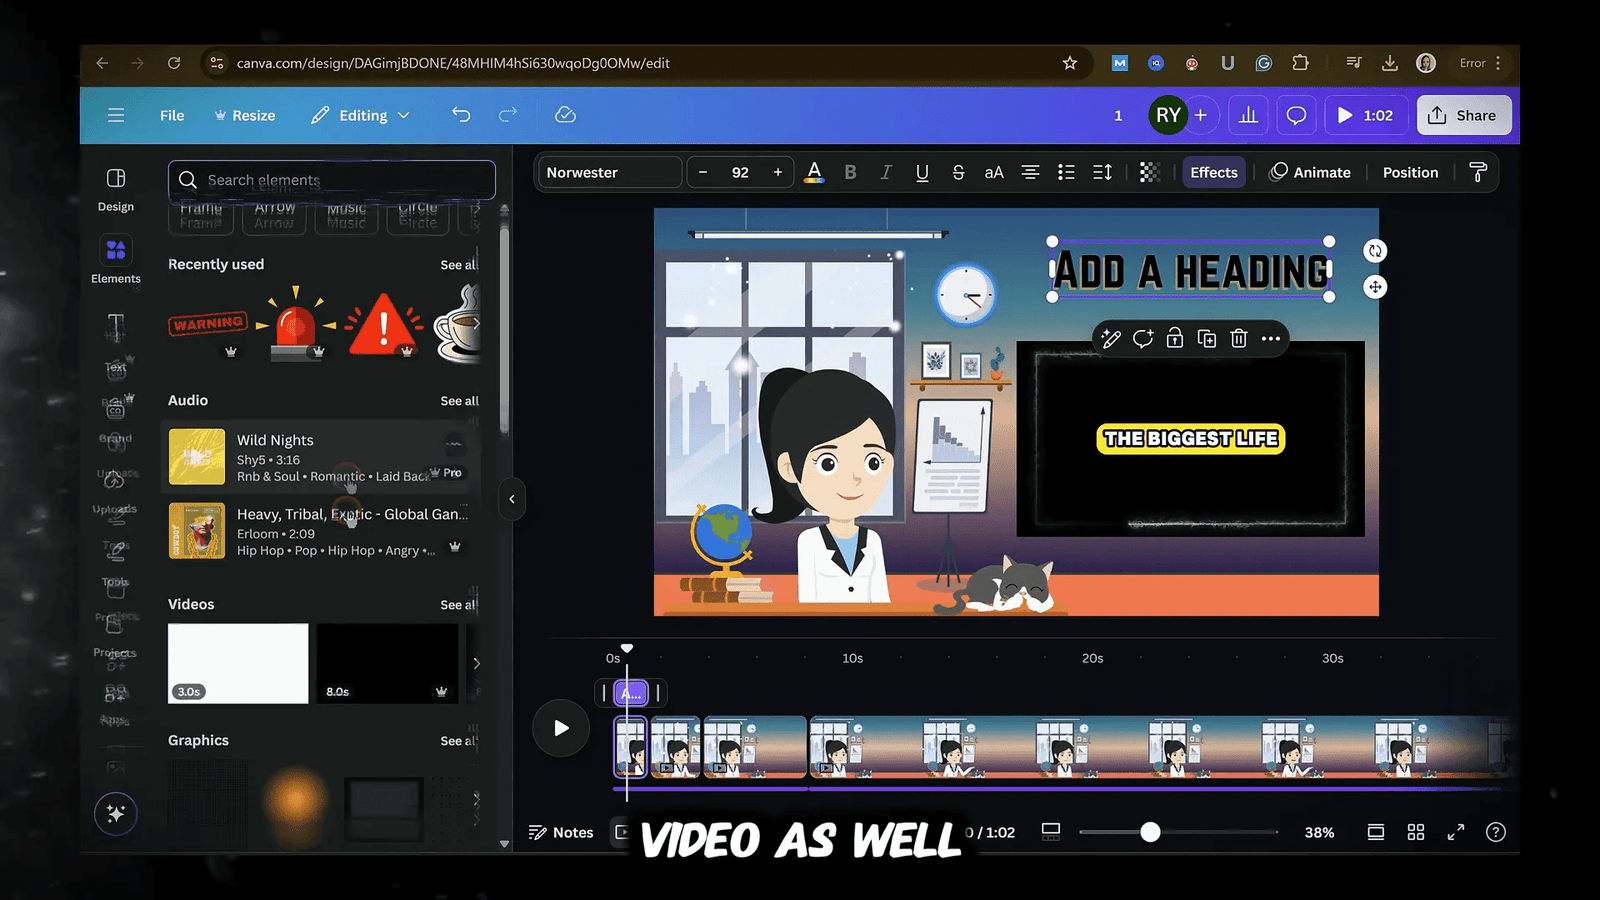
Adding text is a crucial part of video editing, and the Canva video editor makes it a seamless process. Start by selecting the text option from the left menu. You can choose from preset font combinations or create your own by adding a heading.
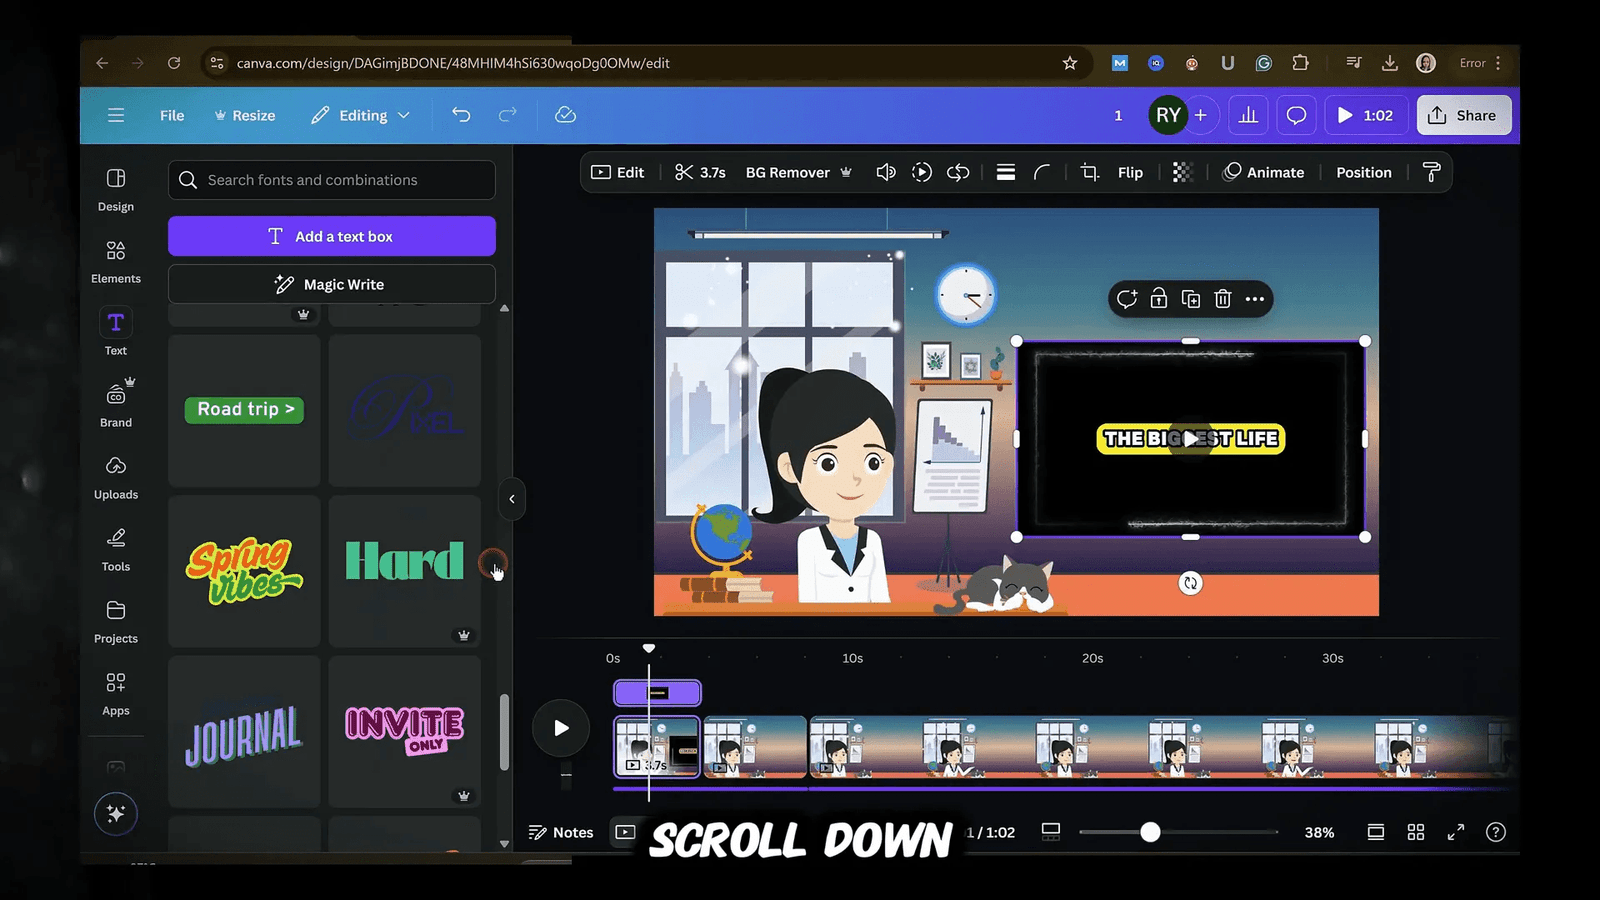
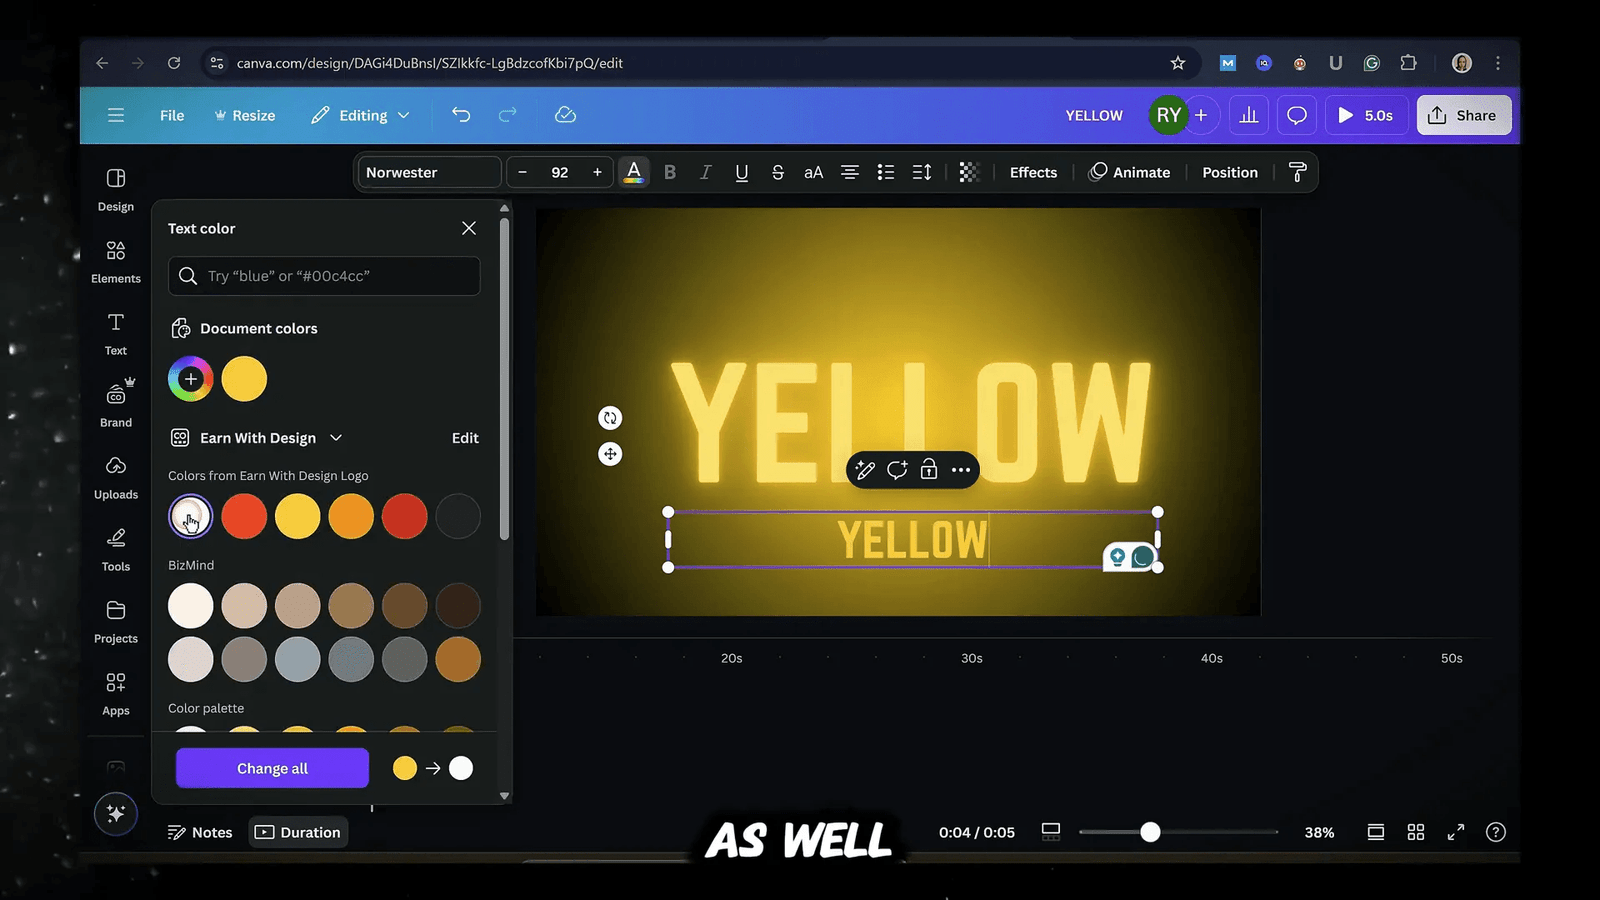
Once you’ve added text, customise it to match your style. Change the font style, size, colour, and alignment using the options at the top. For example, if you want a bold look, try using a font like Norwester.
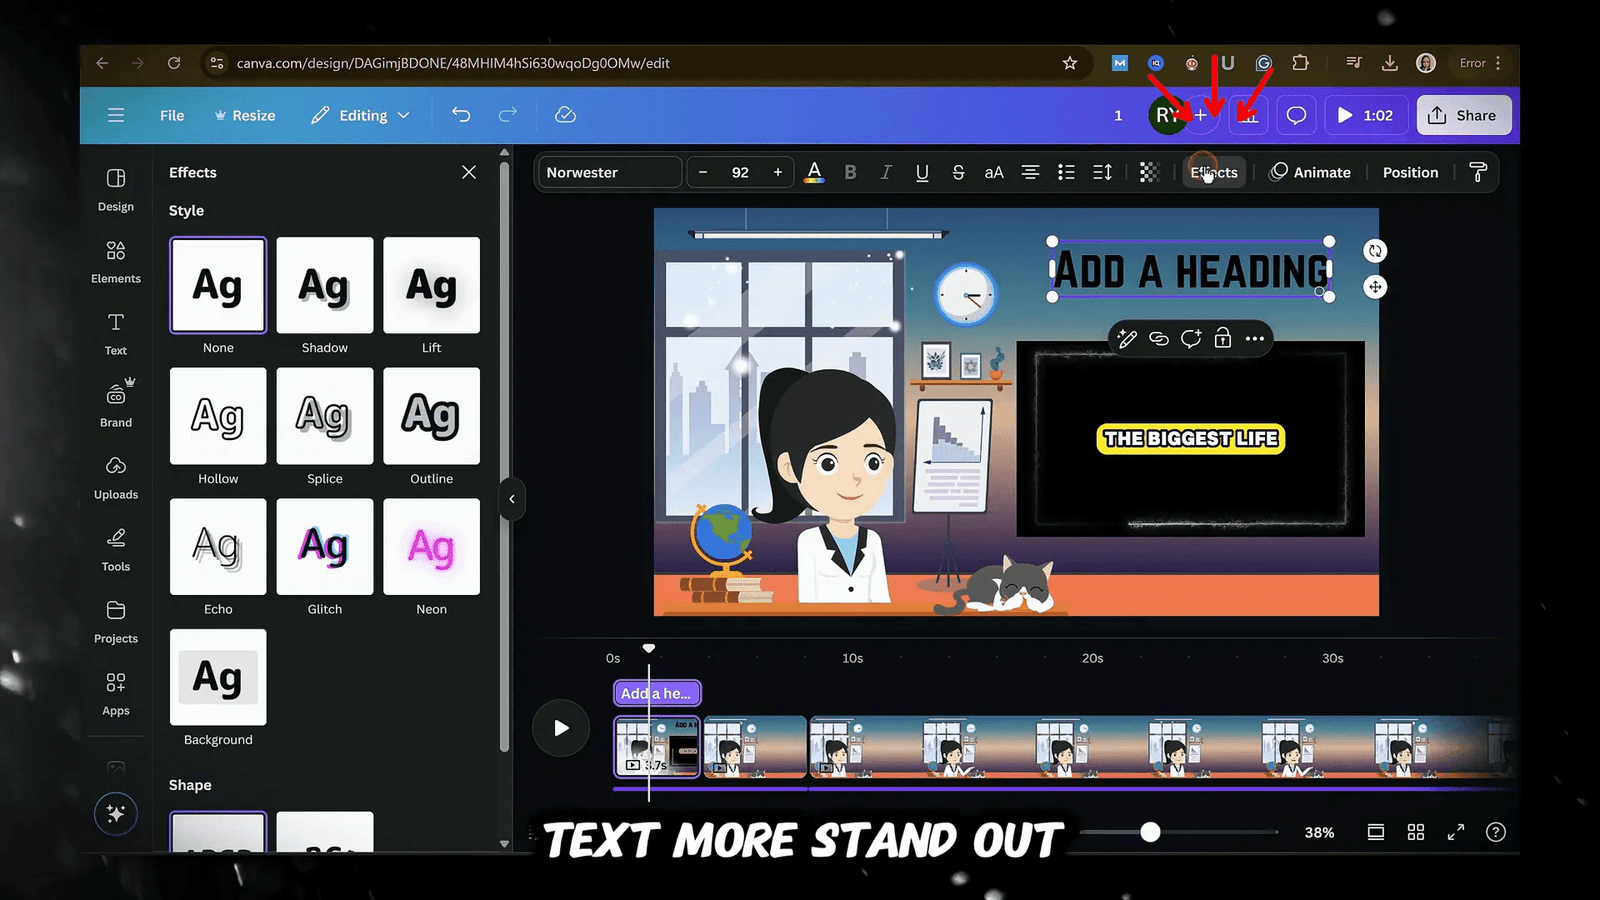
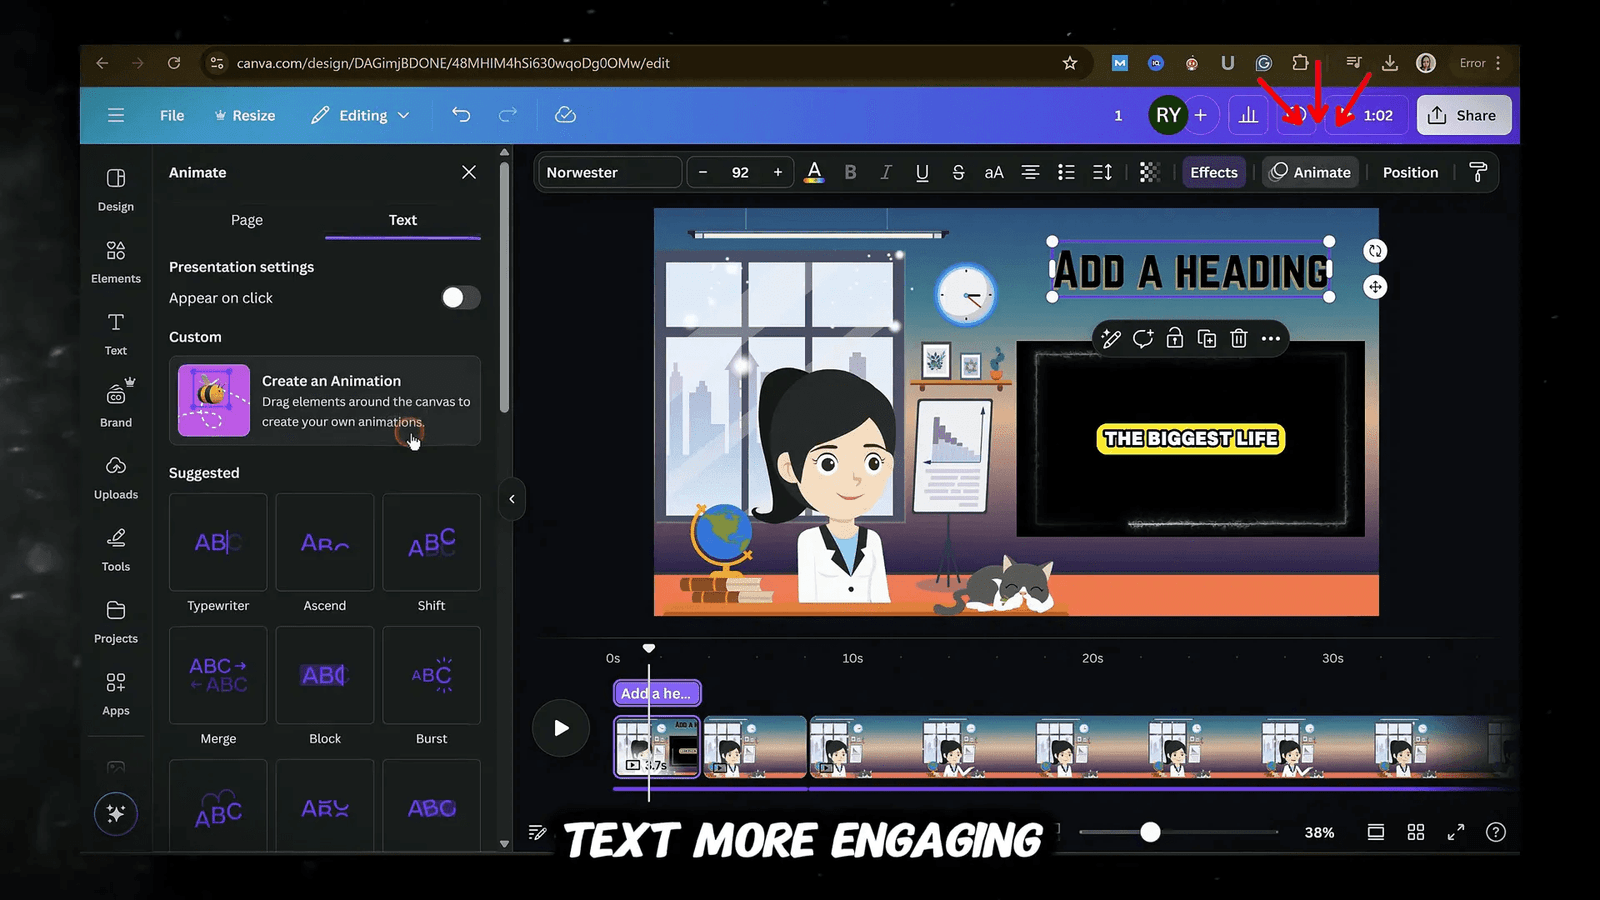
To make your text stand out, explore the effects available. You can apply drop shadows, outlines, or even curve your text for a unique flair. Animating your text adds an extra layer of engagement; options like fade or typewriting can bring your words to life.
Control how long your text appears on screen by splitting your clips or dragging the text in the timeline. This allows you to sync your text with your video content seamlessly.
Incorporating Graphics and Elements
To enhance your videos, adding graphics is essential. Click on the elements tab in the left panel to browse through shapes, icons, and illustrations. Search for what you need, and simply click to add it to your canvas.

Once added, you can resize and reposition your graphics just as you would text. Don’t forget to animate them as well! This brings a dynamic feel to your video, making it more visually appealing.
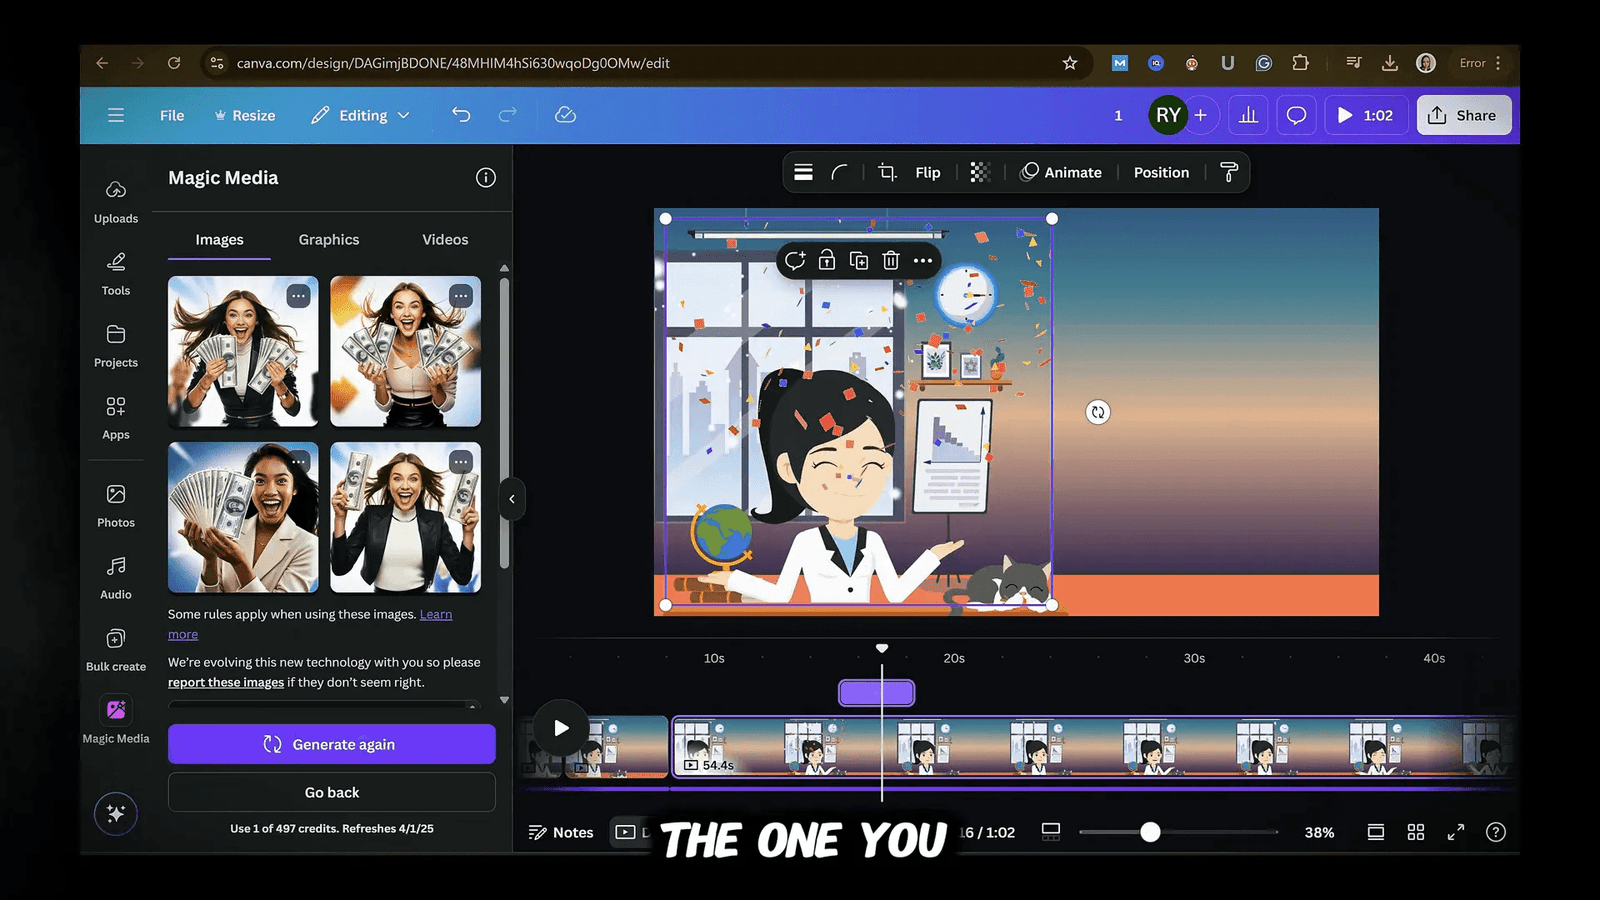
If you can’t find the perfect graphic in the library, utilise the Canva AI feature to create one. By describing what you want, you can create custom images or graphics that perfectly suit your project.
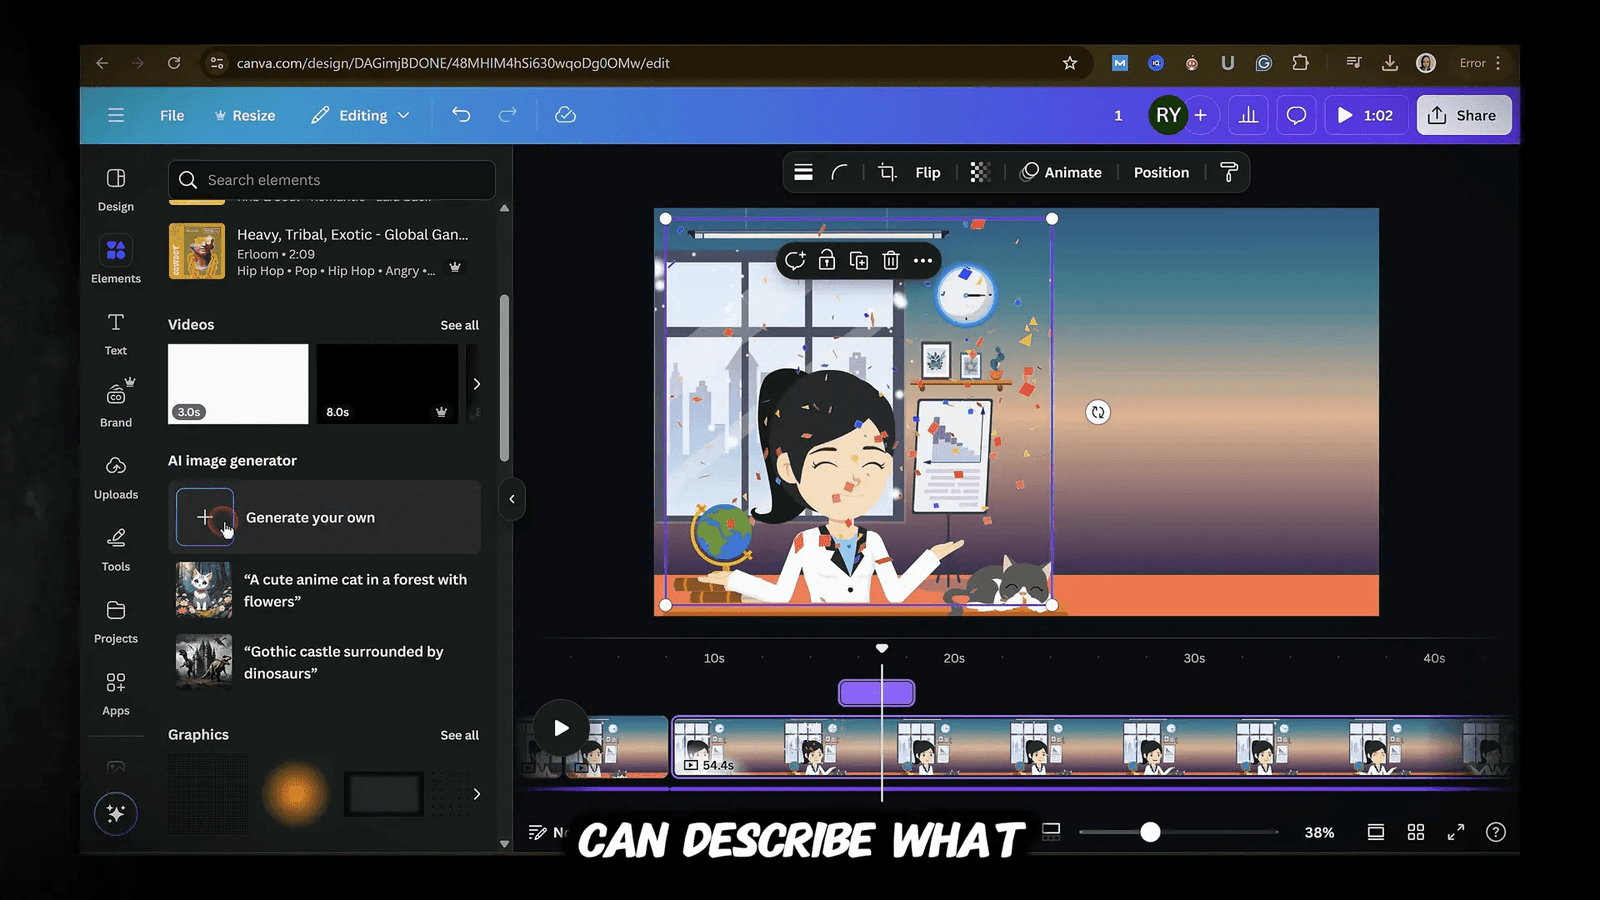
Exploring Canva AI Features
The Canva AI tools are a game-changer for video editing. For instance, if you need a specific element, the AI image generator can create it based on your description. Just click the plus icon in the elements tab and start typing!
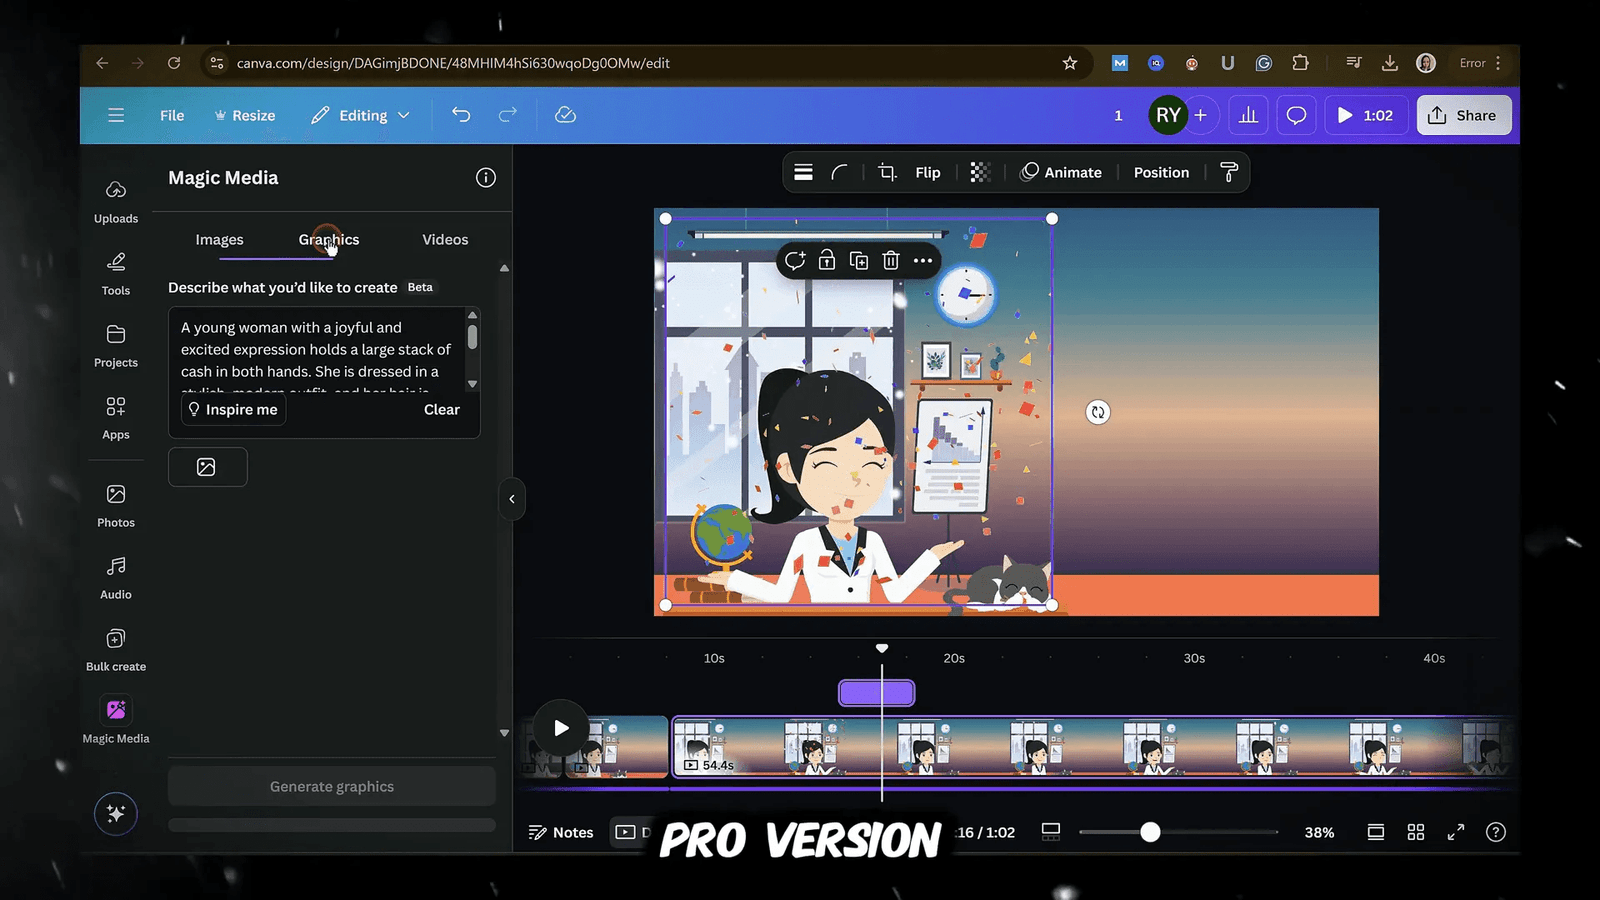
This feature isn’t just for images; you can also generate graphics or video prompts. However, keep in mind that there are limitations on free and pro versions, so plan accordingly.
After generating your desired elements, you can easily add them to your canvas. This flexibility opens up a world of creative possibilities!
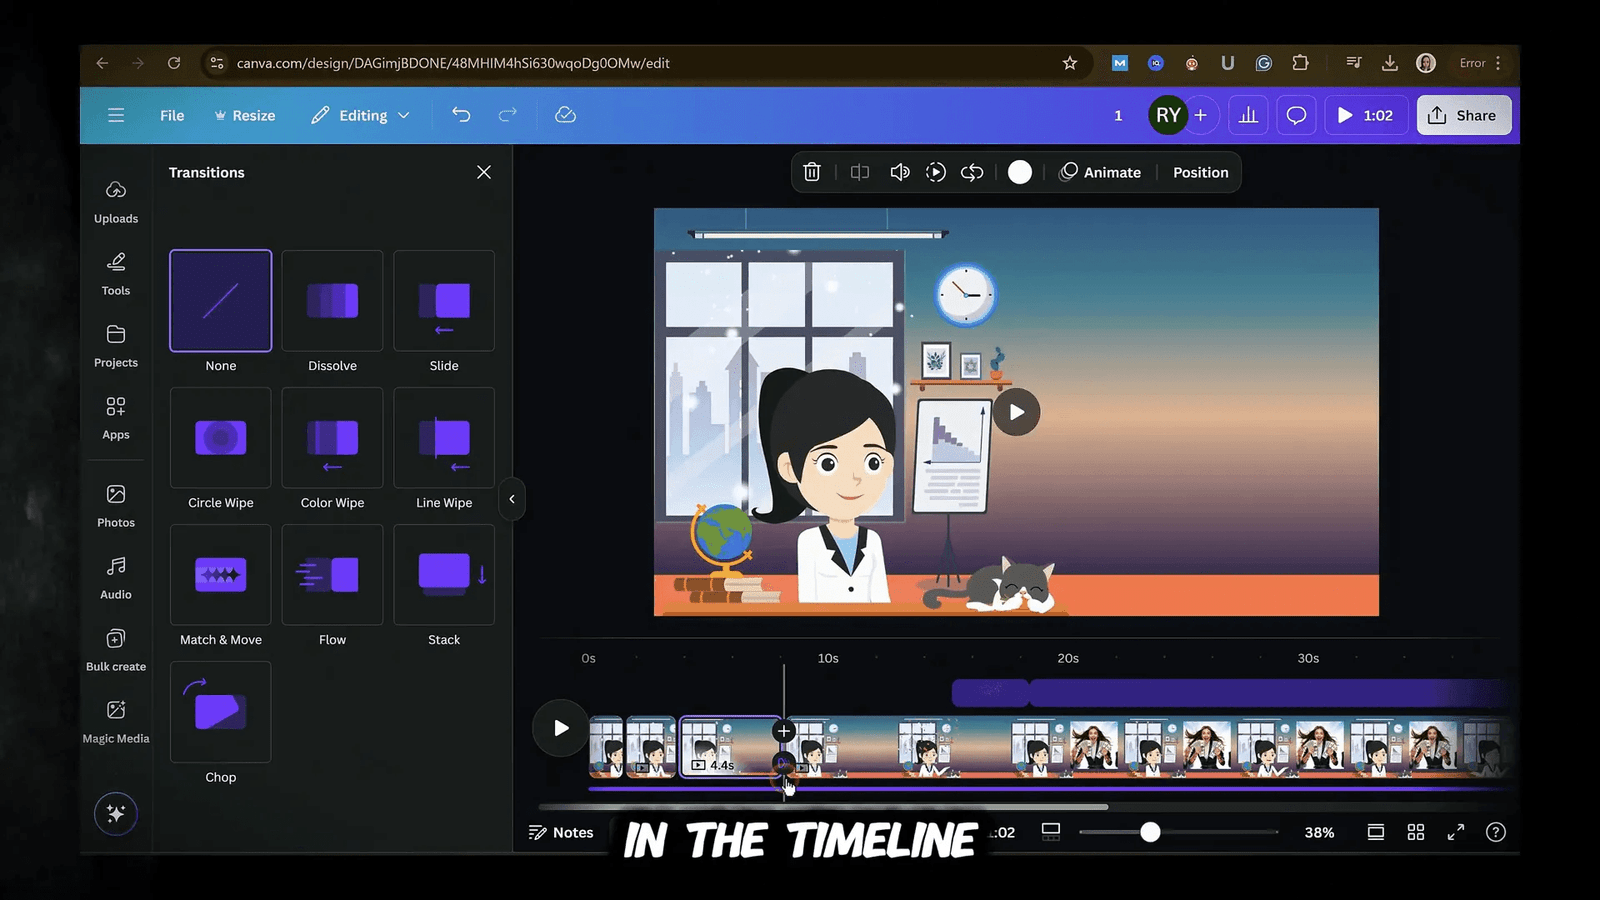
Transitions and Effects for Smooth Edits
Transitions are vital for creating a polished final product. Position your cursor between two clips in the timeline and click the arrow icon to select your preferred transition. Options like dissolves or slides can add flair to your edits.
For a more professional look, consider zooming in slightly on clips instead of using transitions. This subtle change can maintain viewer engagement without being distracting.
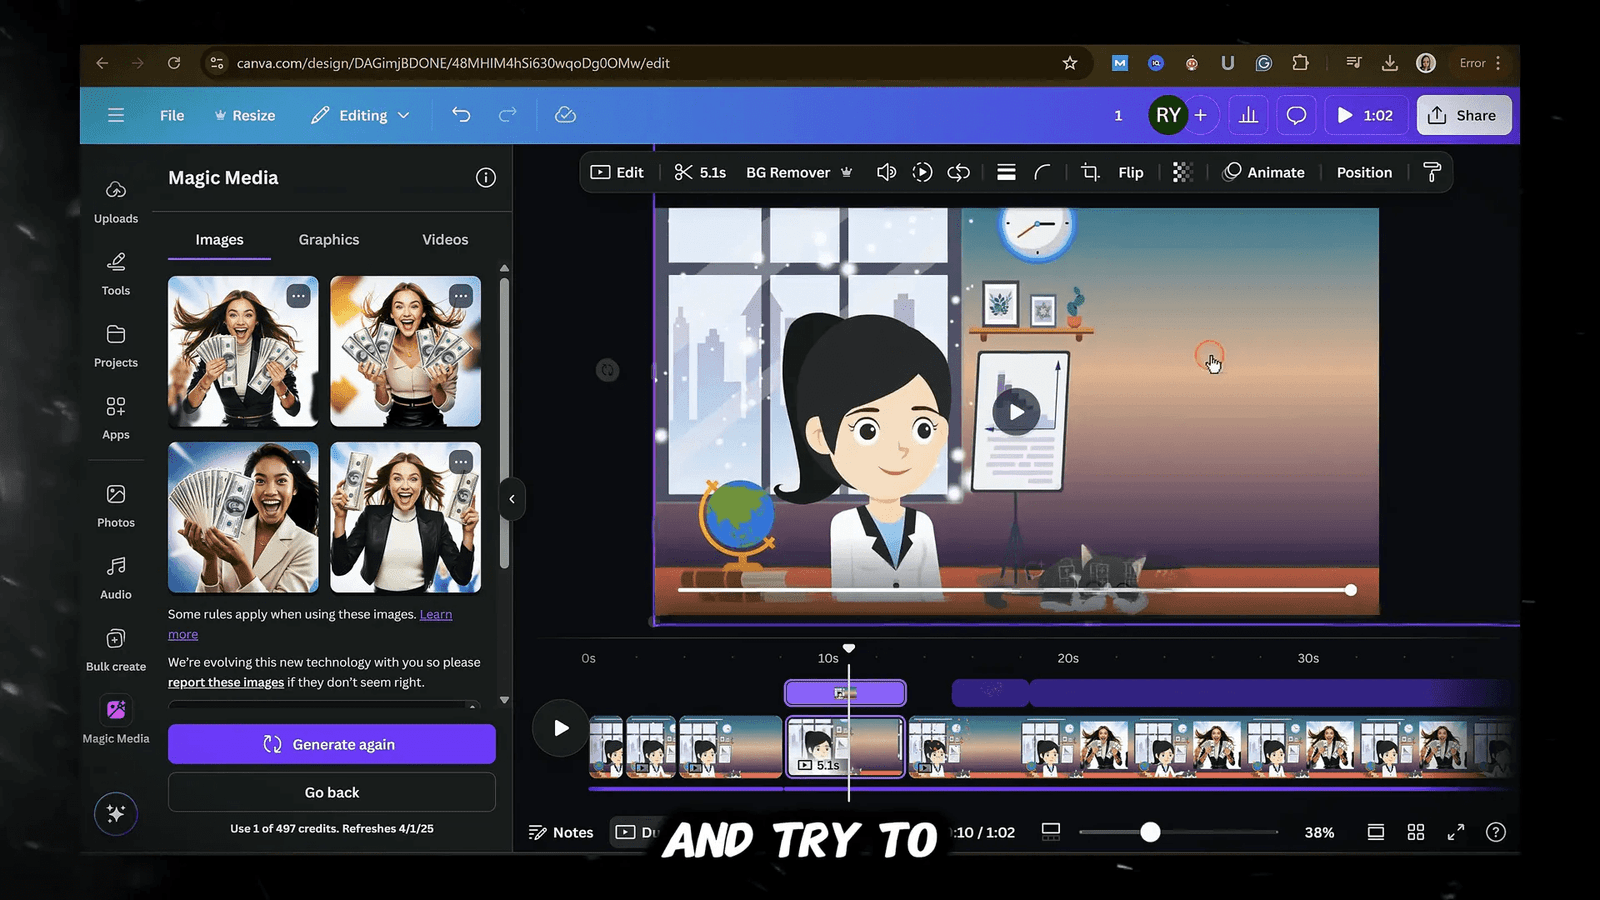
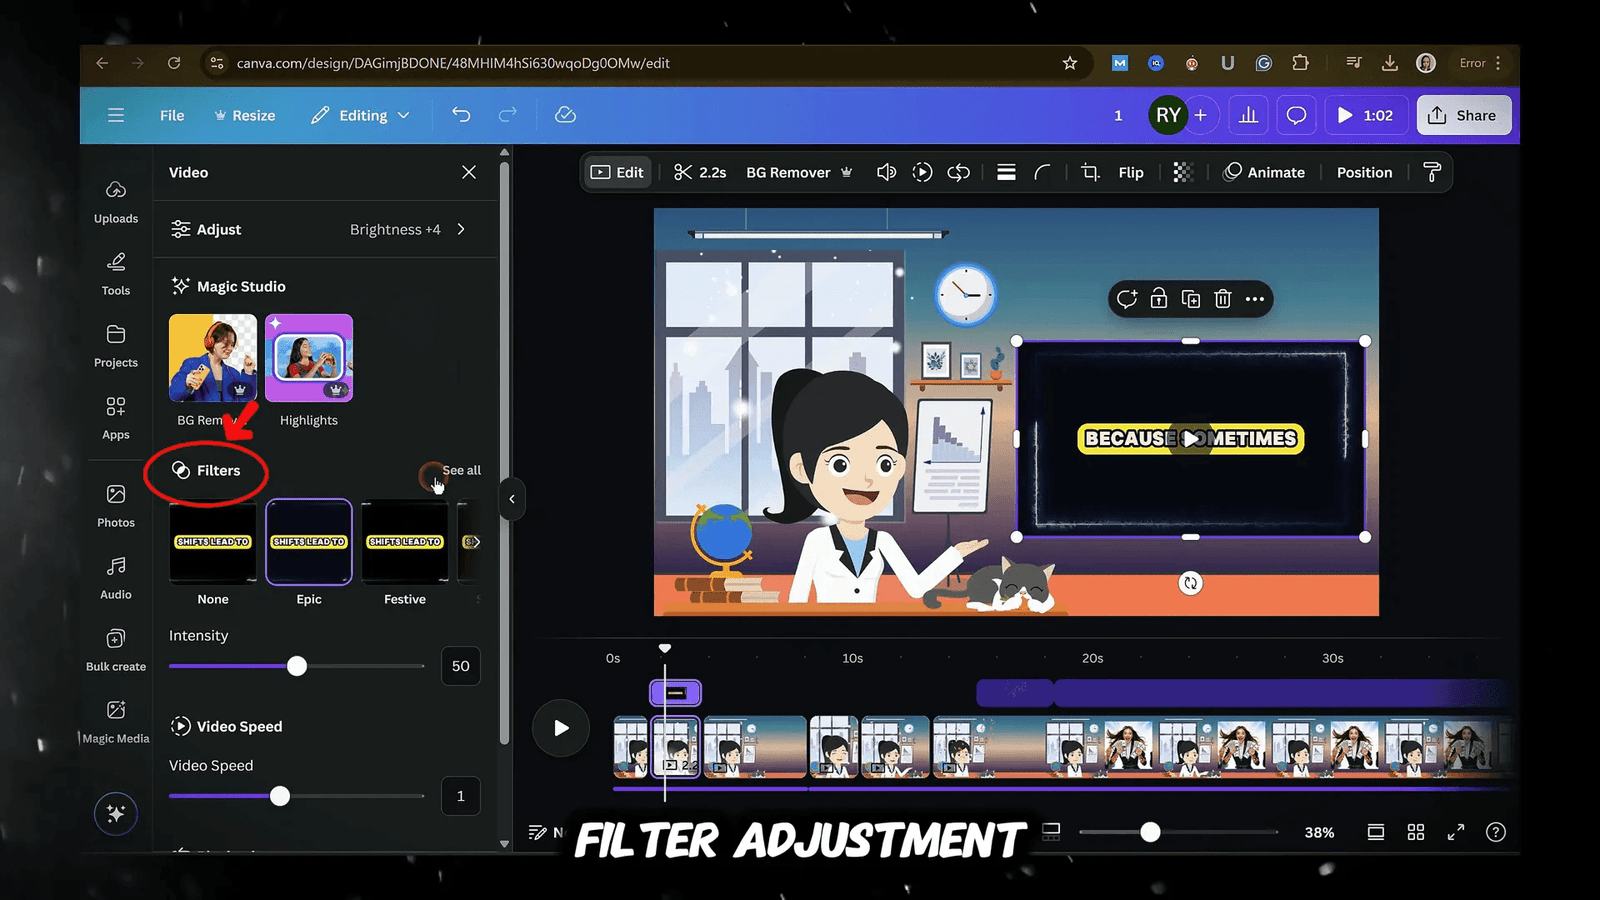
Canva also offers various effects that can be applied to your clips. Click on a clip, then select edit to explore filters and adjustments that can enhance the overall aesthetic of your video.
Audio Editing
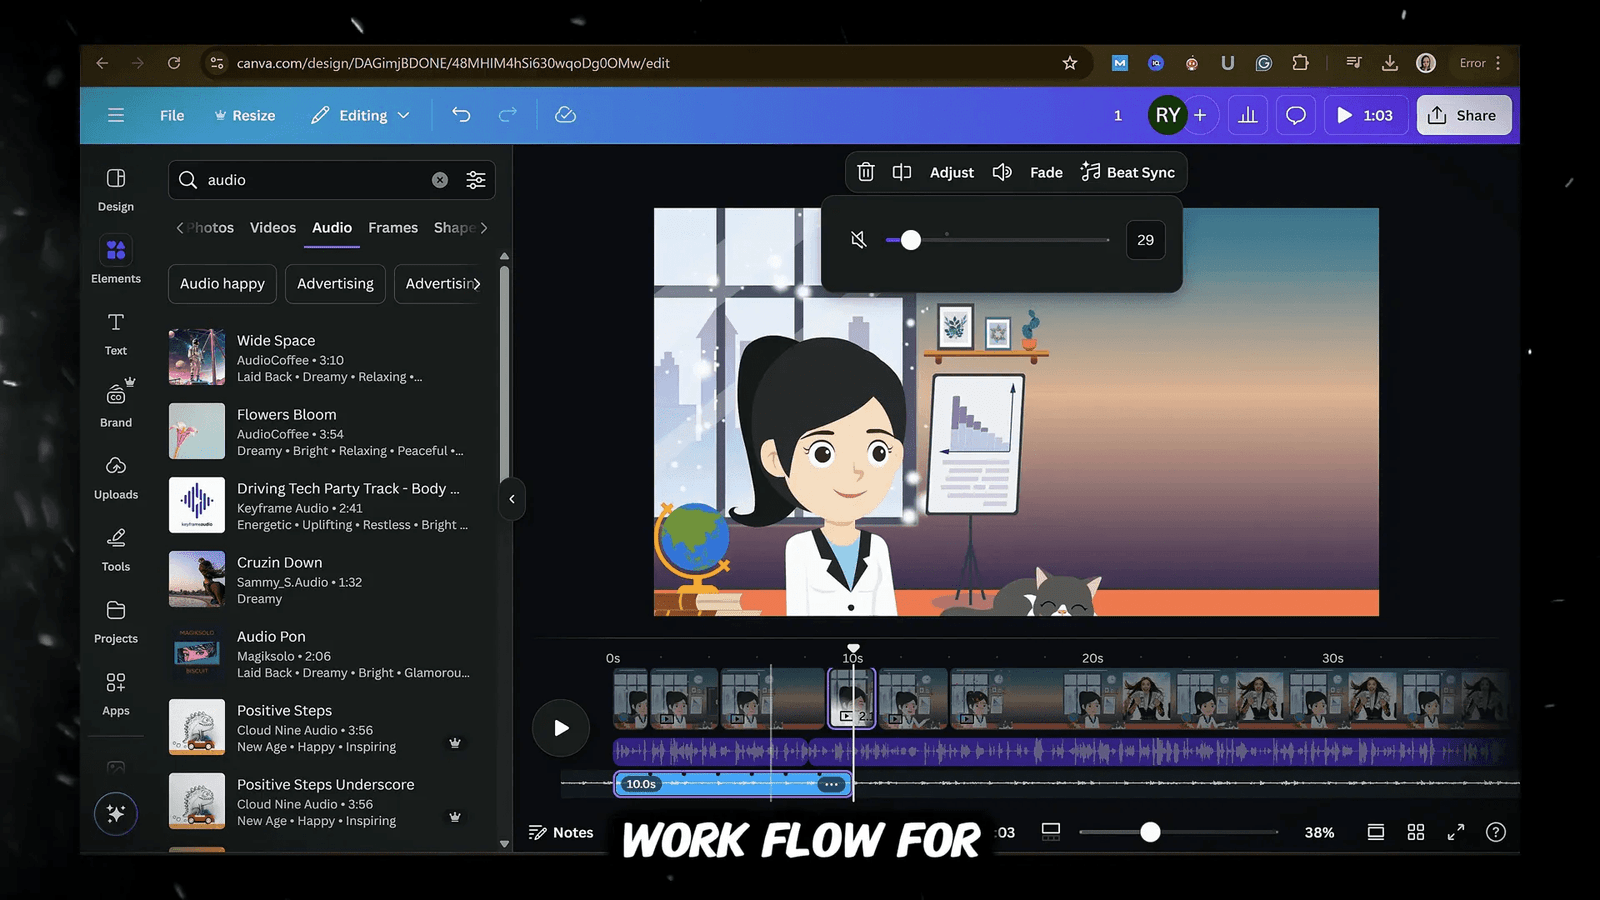
Audio Editing is just as important as great visuals. Click the Audio tab to access free music tracks or upload your own. For a balanced audio experience, start by setting your music volume between 20% and 30%.

To ensure your voice is clear, temporarily mute the music track. Adjust the audio levels on your main clip first, then unmute and balance the music to complement your voice.
For greater control, utilize the extract audio feature to isolate your audio track. This allows for independent adjustments, making your editing process smoother.
Exporting Your Finished Video
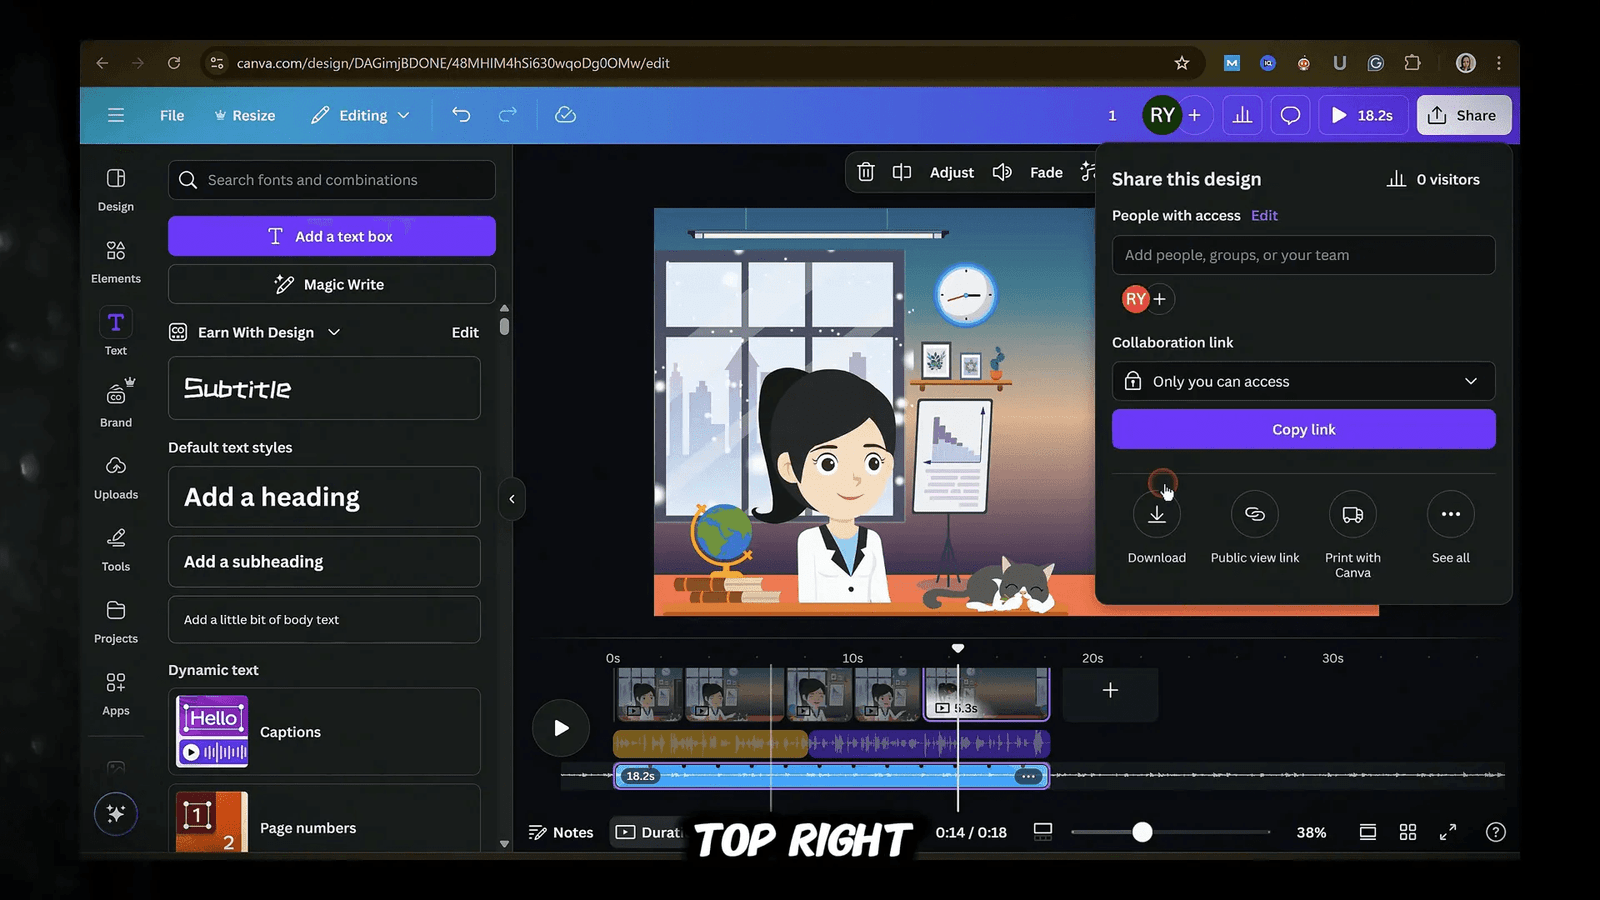
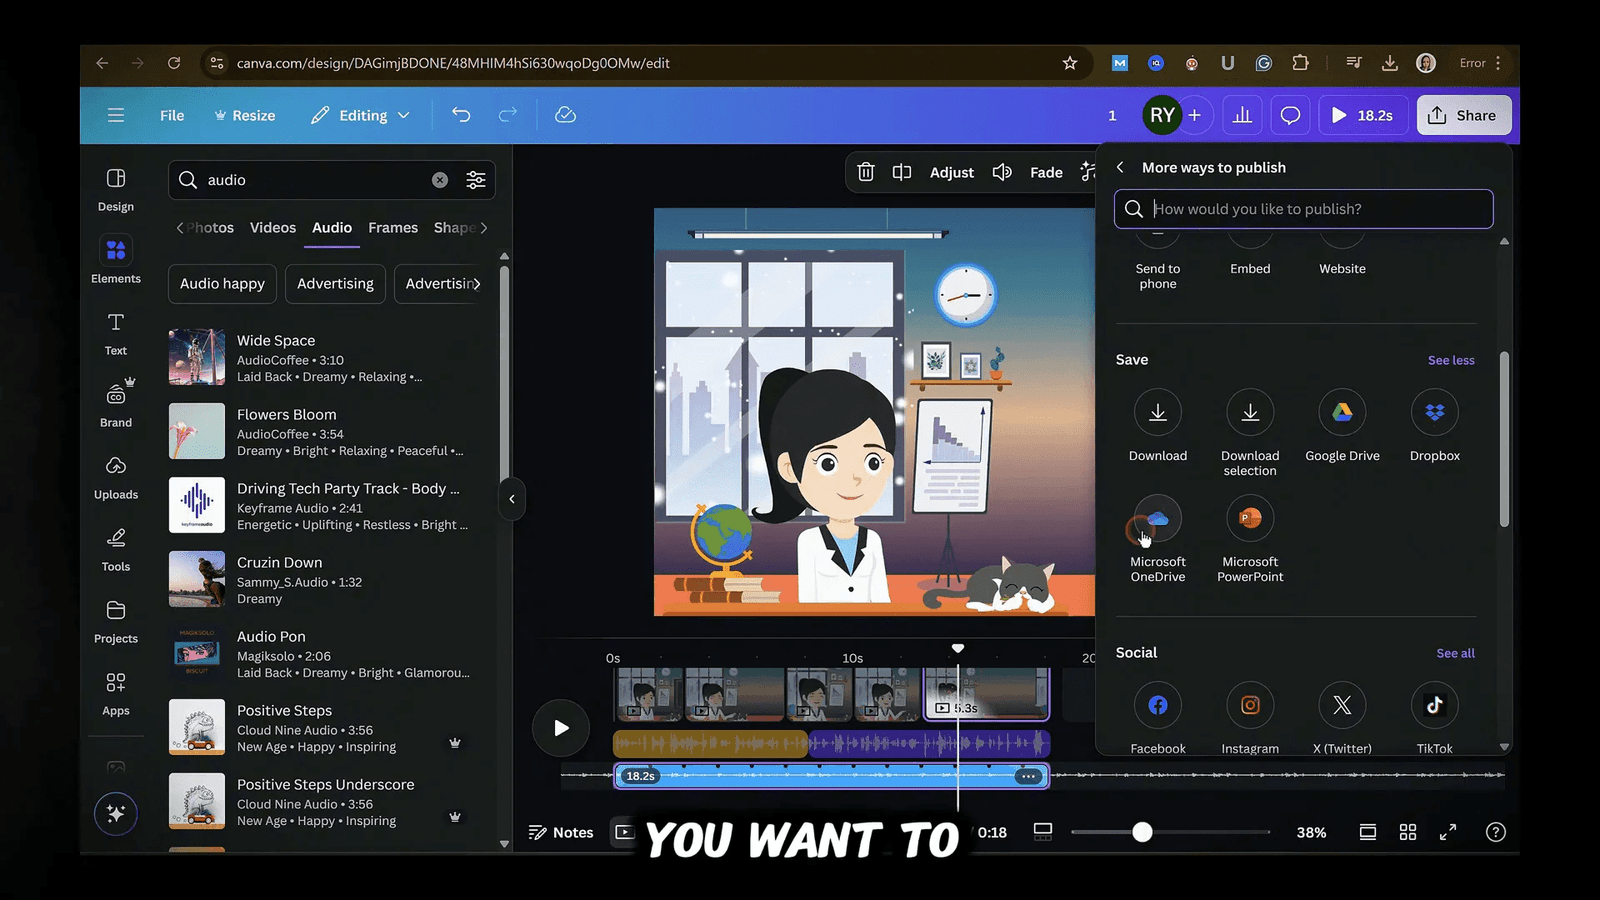
Once you’re satisfied with your edits, it’s time to export your masterpiece. Click the share button, then select download. Canva will export your video at 1080p by default, perfect for platforms like YouTube.
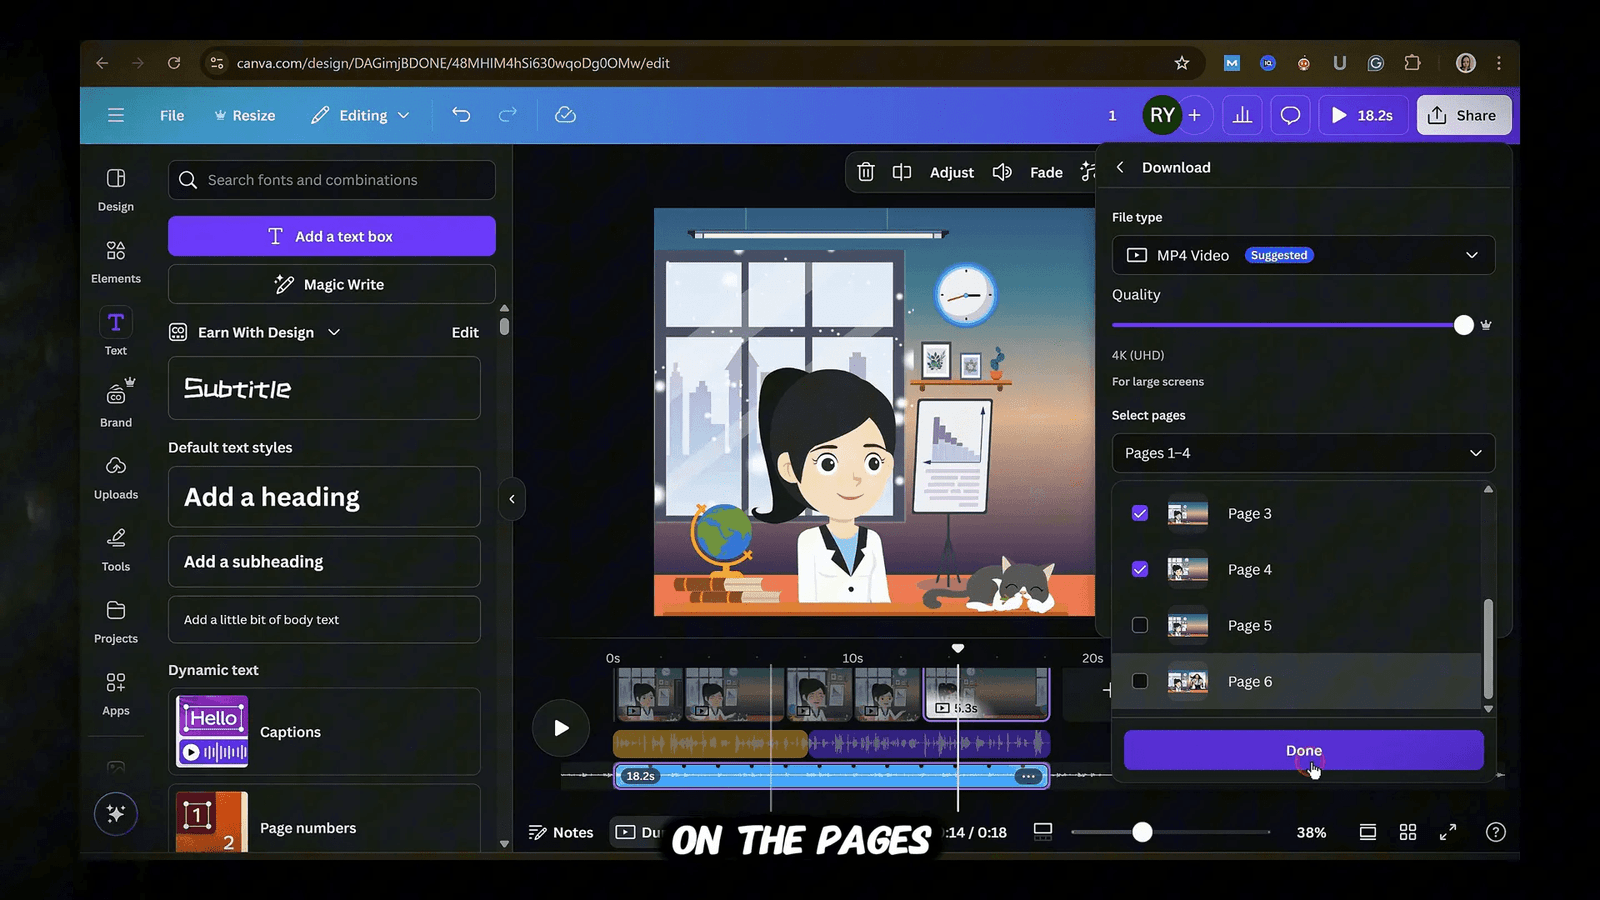
If you want to export a specific section, you can select specific pages. Just click on the arrow next to the pages and tick the ones you want to export.
Additionally, Canva offers direct sharing options to platforms like Facebook, Instagram, and TikTok. You can even save your video to cloud storage services like Google Drive or Dropbox.
Creating Trending Animations
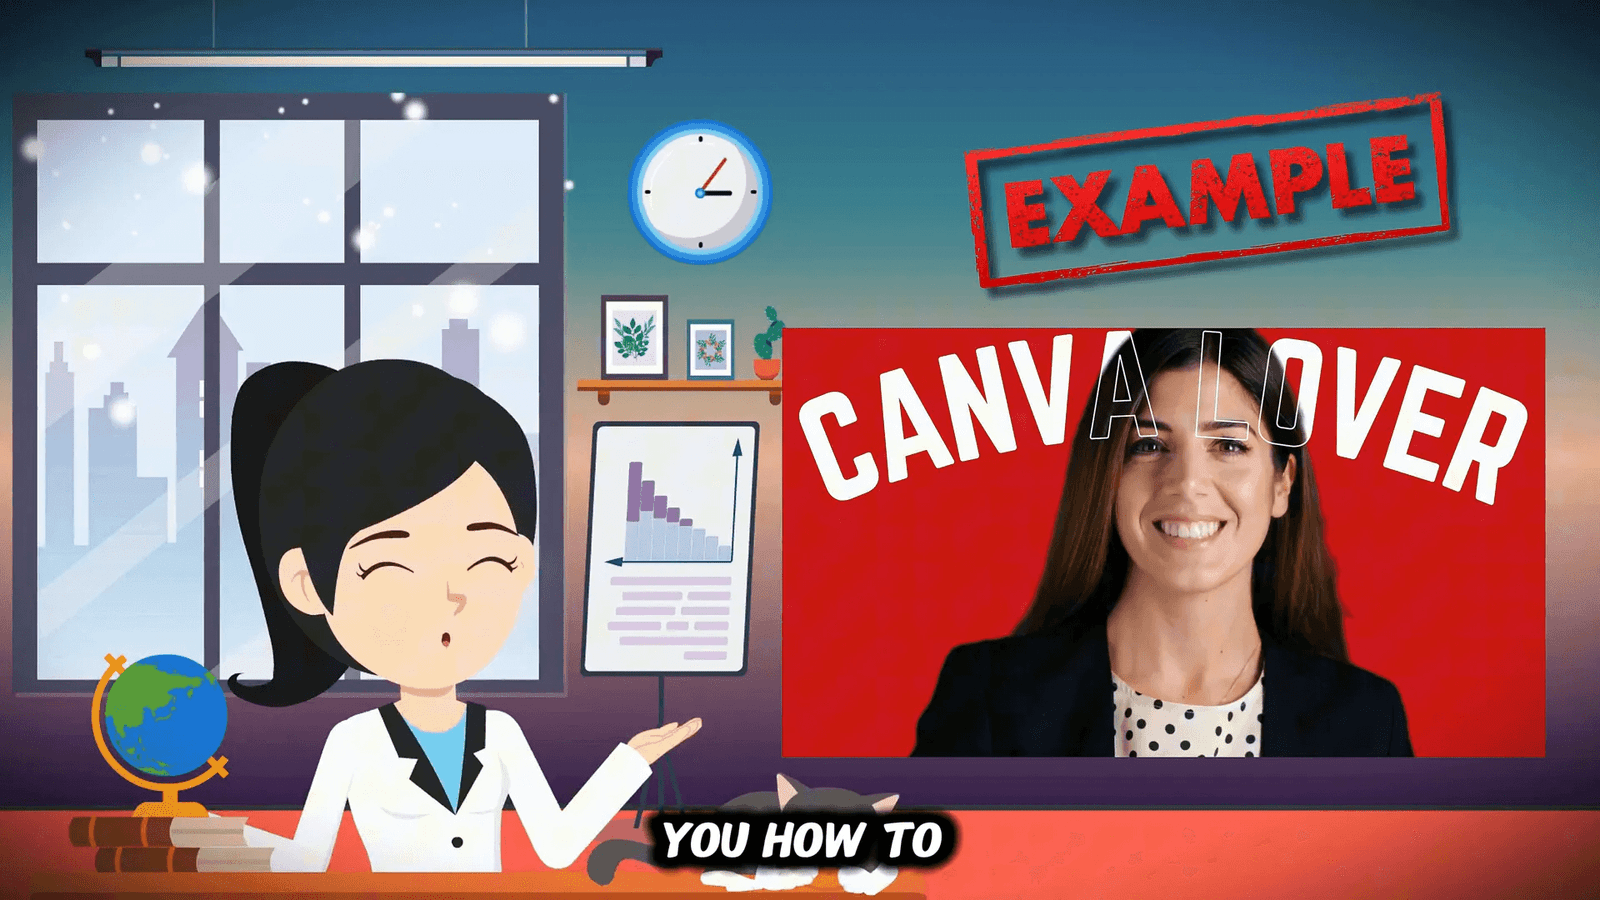
Creating eye-catching animations is essential for grabbing attention. With the Canva video editor, you can easily create trending animations that elevate your video content. Start by opening Canva and creating a new design. For example, find a video of a girl in the Canva elements library and remove the background to make her the focal point.
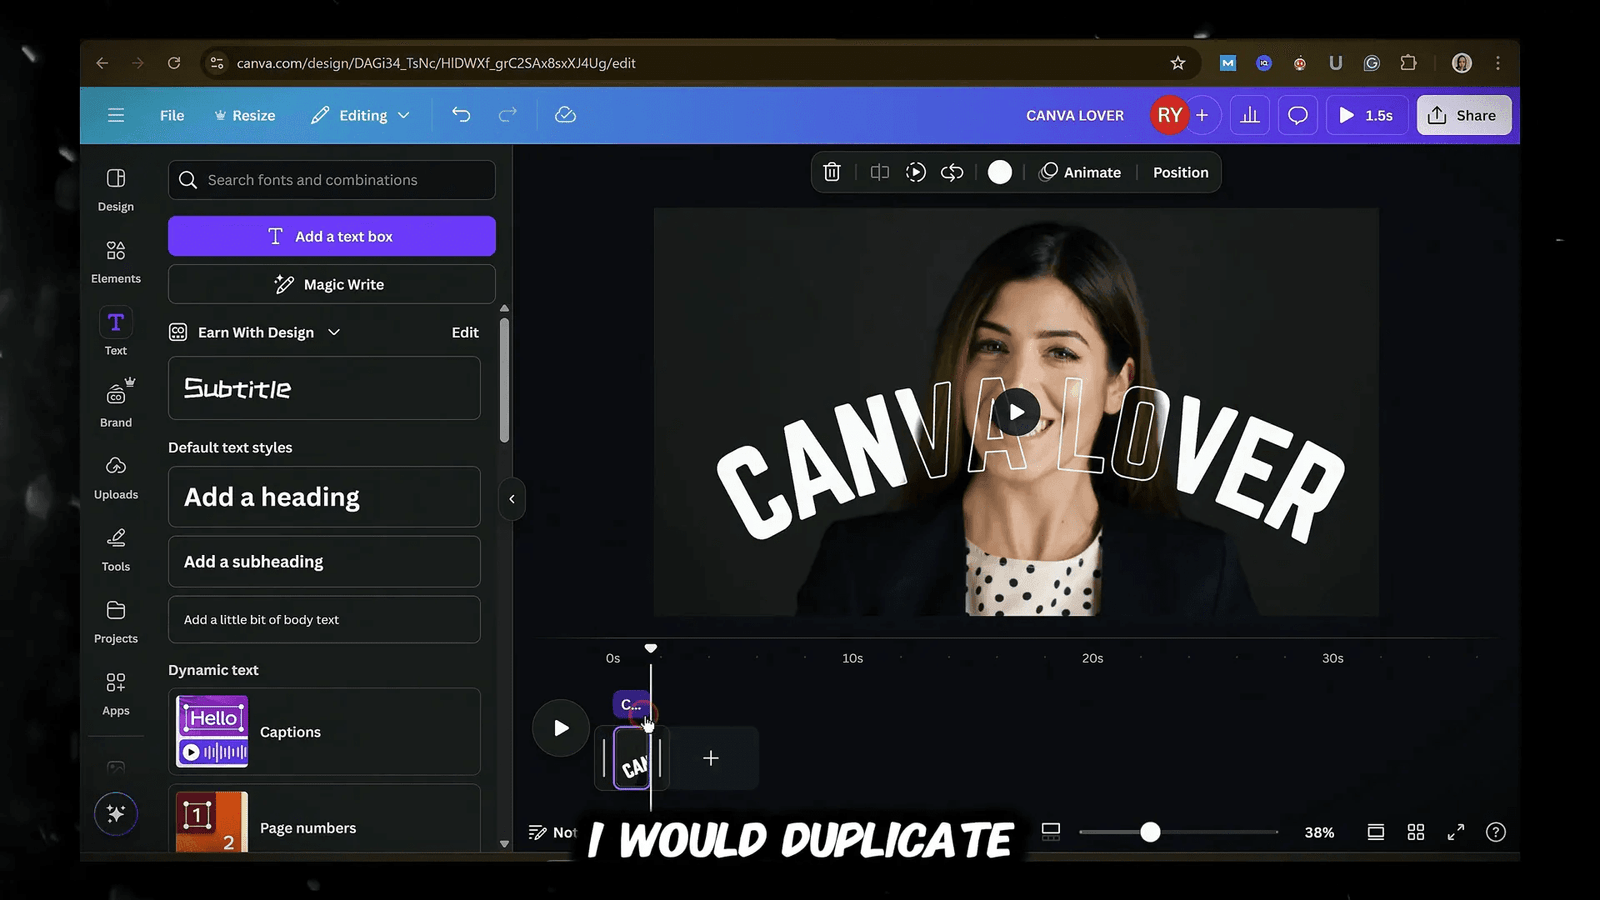
Next, change the canvas background to a striking colour, such as black. Add text, like “Canva Lover,” but here’s the trick: create two text layers. Use one solid font for the background and another outline font in the front. This layering technique adds depth and interest to your animation.
Now, you’ll have five layers of elements: the background colour, the girl with the background removed, a solid font, the girl video again with the background removed, and the hollow font. You can even curve the text by selecting the effects option. The fun part? Animate it! Shorten the video duration to about 1.5 seconds and duplicate the first page, changing the background colour to something like yellow.
Move the text slightly up and duplicate the pages again, changing the background to red. Continue this process, adjusting the text position and colours as you go. Finally, add smooth transitions between pages by selecting “match and move” to create a cohesive, eye-catching animation.
Layering Techniques: Girl + Text Animation
Layering is a powerful technique to create stunning animations. By stacking elements, you can create depth and visual interest. To achieve this, ensure you have your base layer, which is the background colour. Then, add your main subject, such as a girl video, and remove her background.
Add your text layers on top, using both solid and outline fonts. This combination not only enhances the visual appeal but also makes the text pop against the background. You can adjust the animation duration and apply effects, such as shadows or glow, for added impact.
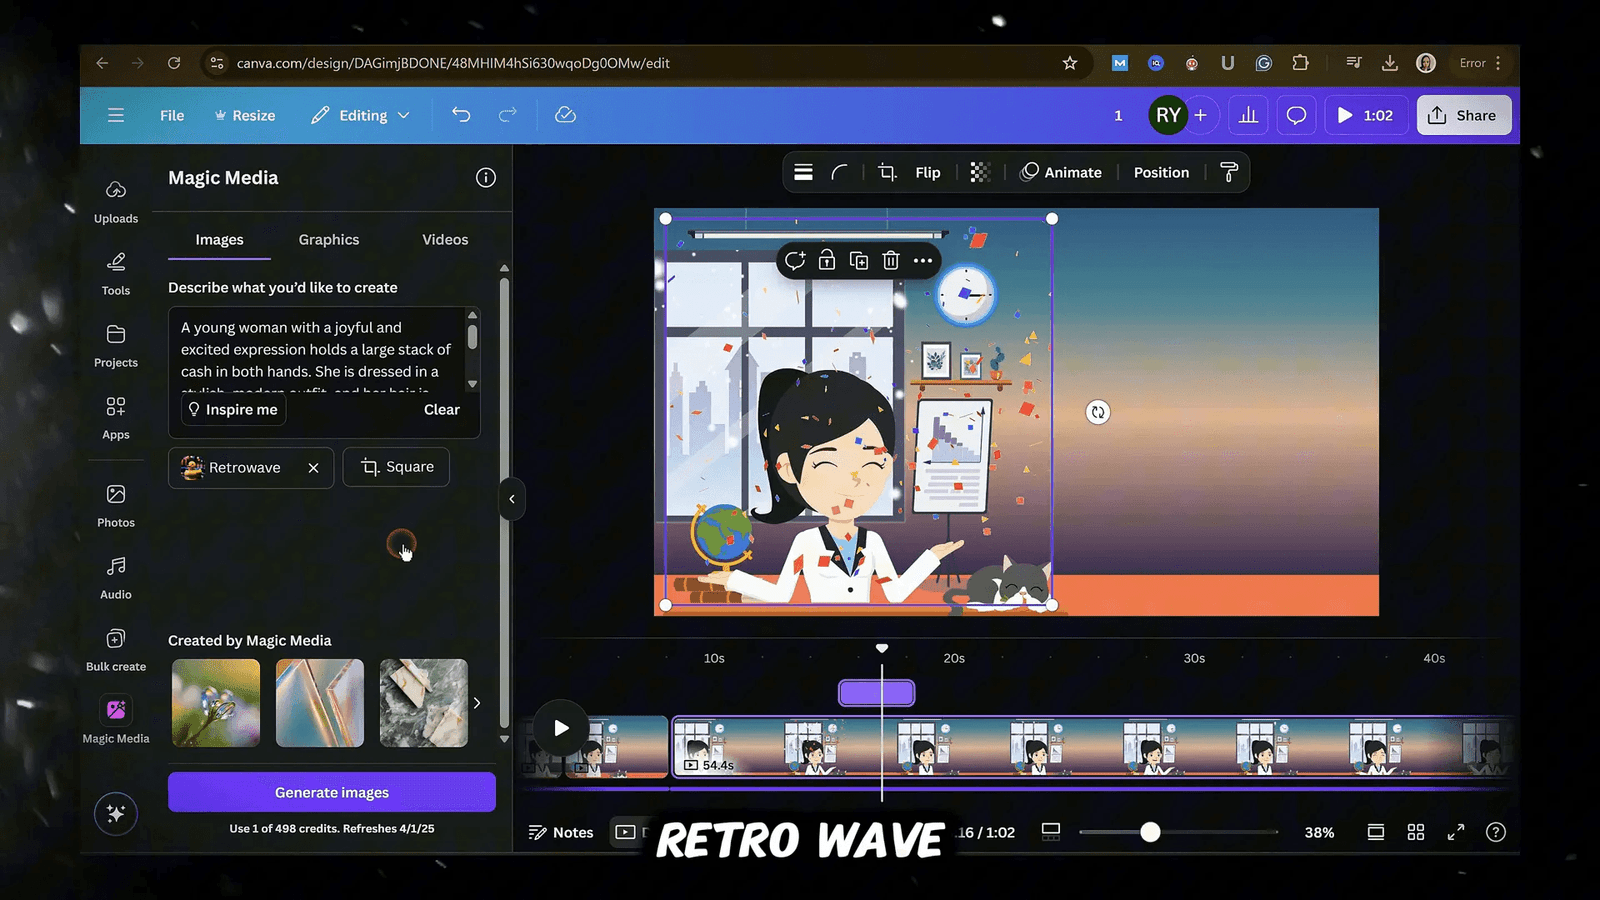
Drift Effect: Gradient Backgrounds and Neon Text
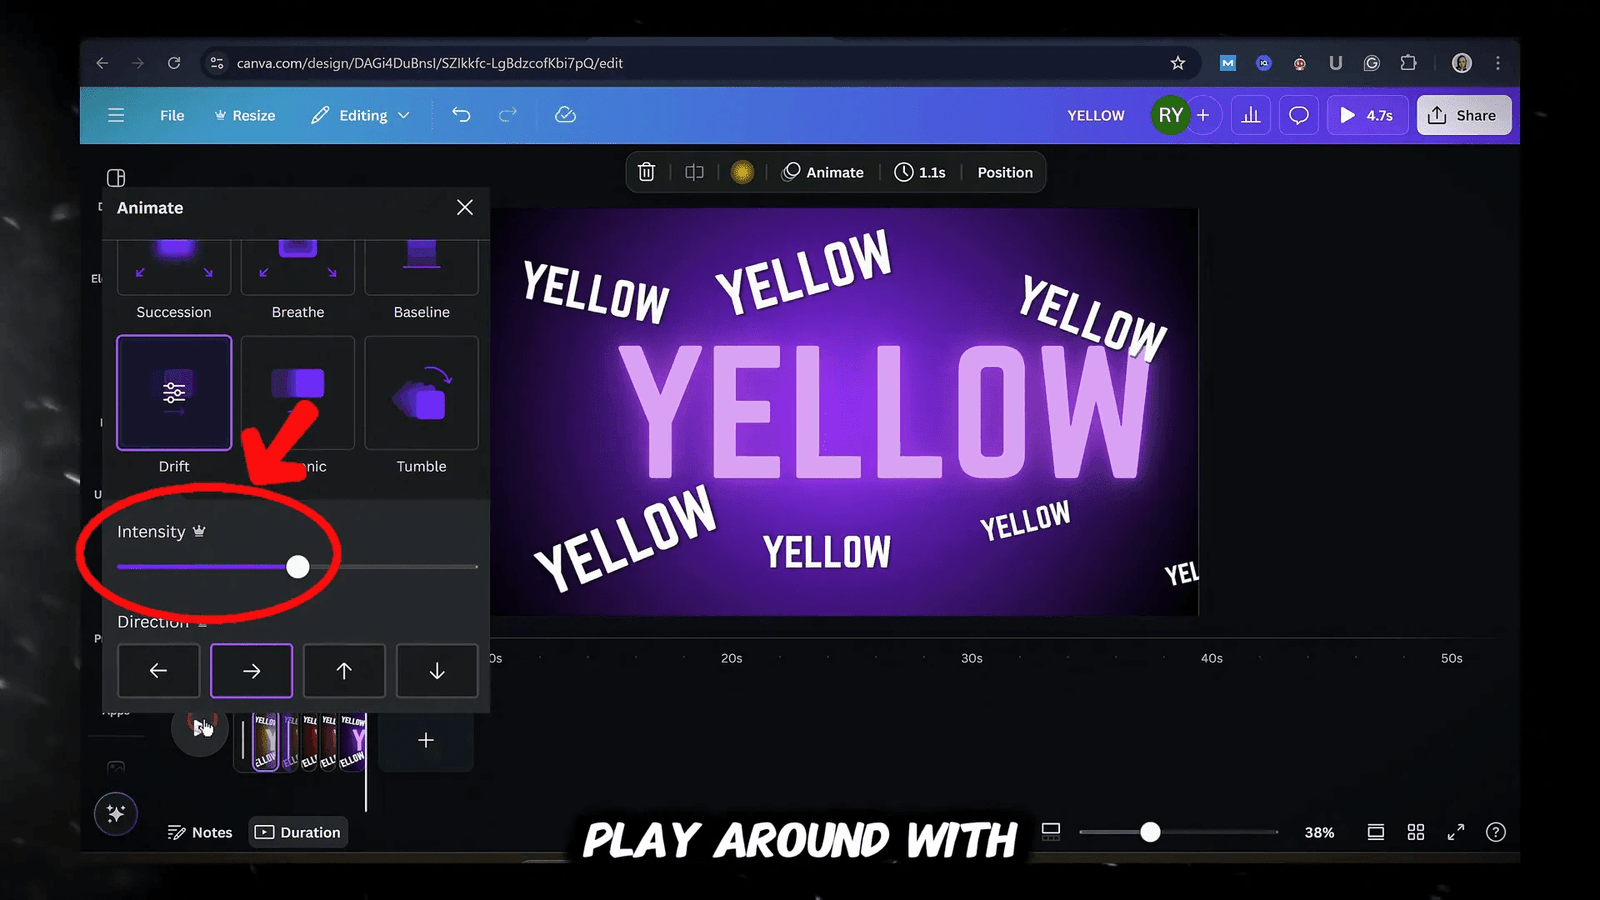
For a modern look, consider using gradient backgrounds paired with neon text effects. Start by selecting a gradient background from the colour options. Don’t stress about picking the perfect colours right away; you can always change them later. Once you have your gradient set, add a heading using bright colours like yellow.
To make your text stand out, apply the neon effect. This will give your words a vibrant, glowing appearance. Duplicate the words, adjusting their size and placement around the canvas for a dynamic layout. Select all the items in your canvas, click on animations, and choose the drift effect for a smooth, floating appearance.
Astronaut Theme: Background Swaps and Transitions
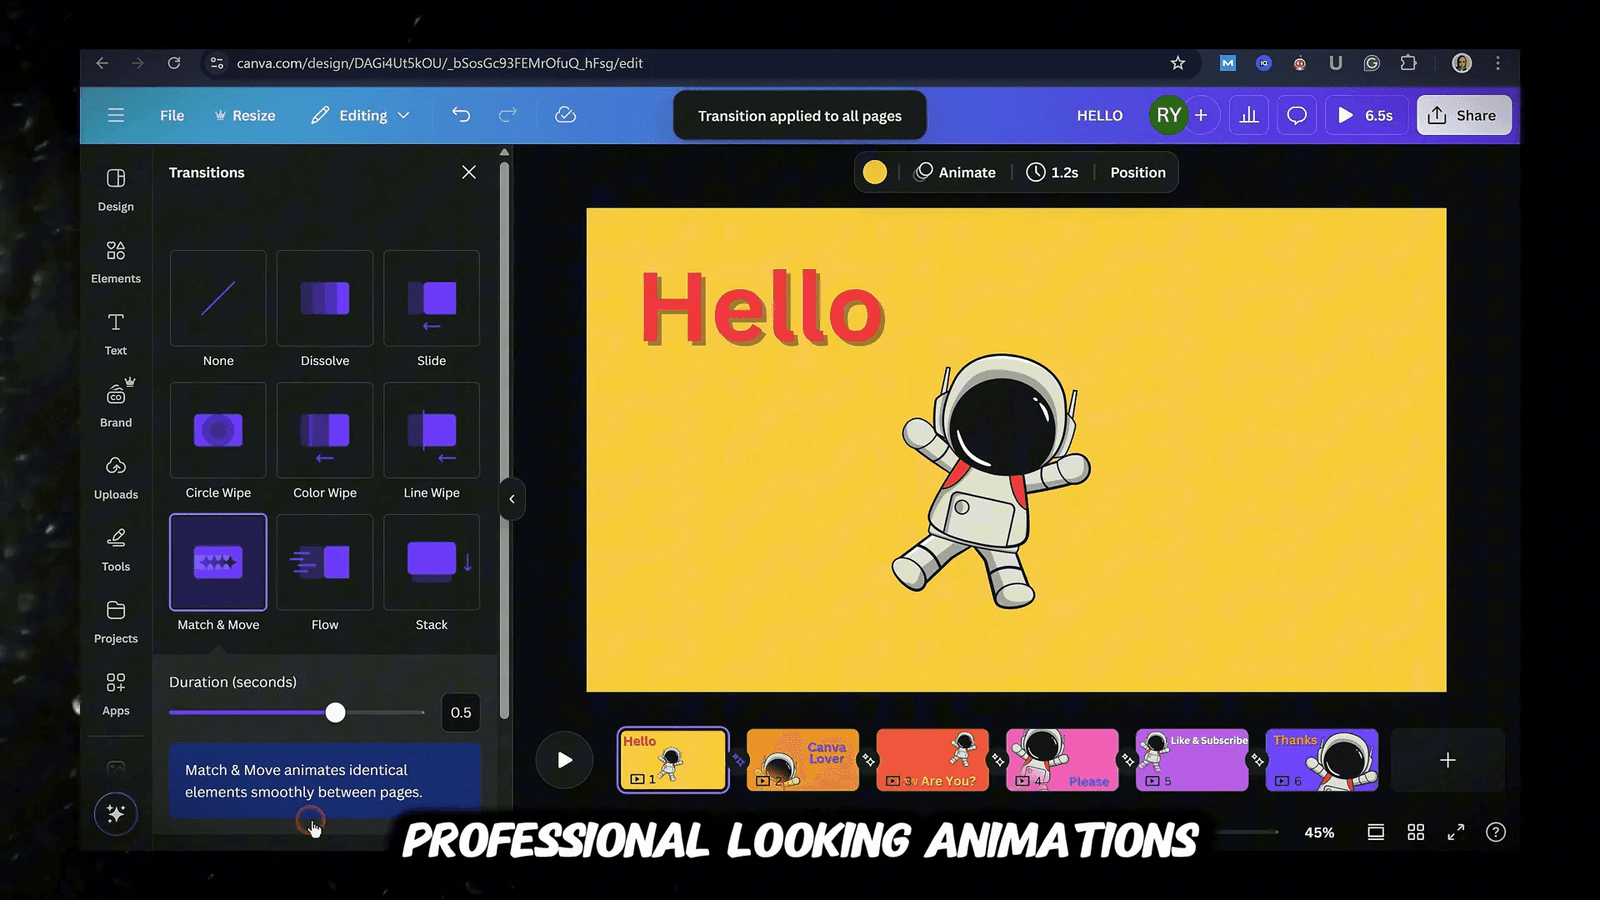
Now let’s have some fun with an astronaut theme! Start by picking a background colour that resonates with your style. Head to the Canva elements library to grab an astronaut graphic. Position it on your canvas, then add some playful text. Consider using shadows for added depth.
Duplicate the page and get creative! Change the background colour, move your astronaut around, and adjust the text. Create several slides with different colours and positions. For a polished finish, click between pages and select the “match and move” transition effect. This technique will create a super smooth and professional-looking animation.
Conclusion and Next Steps
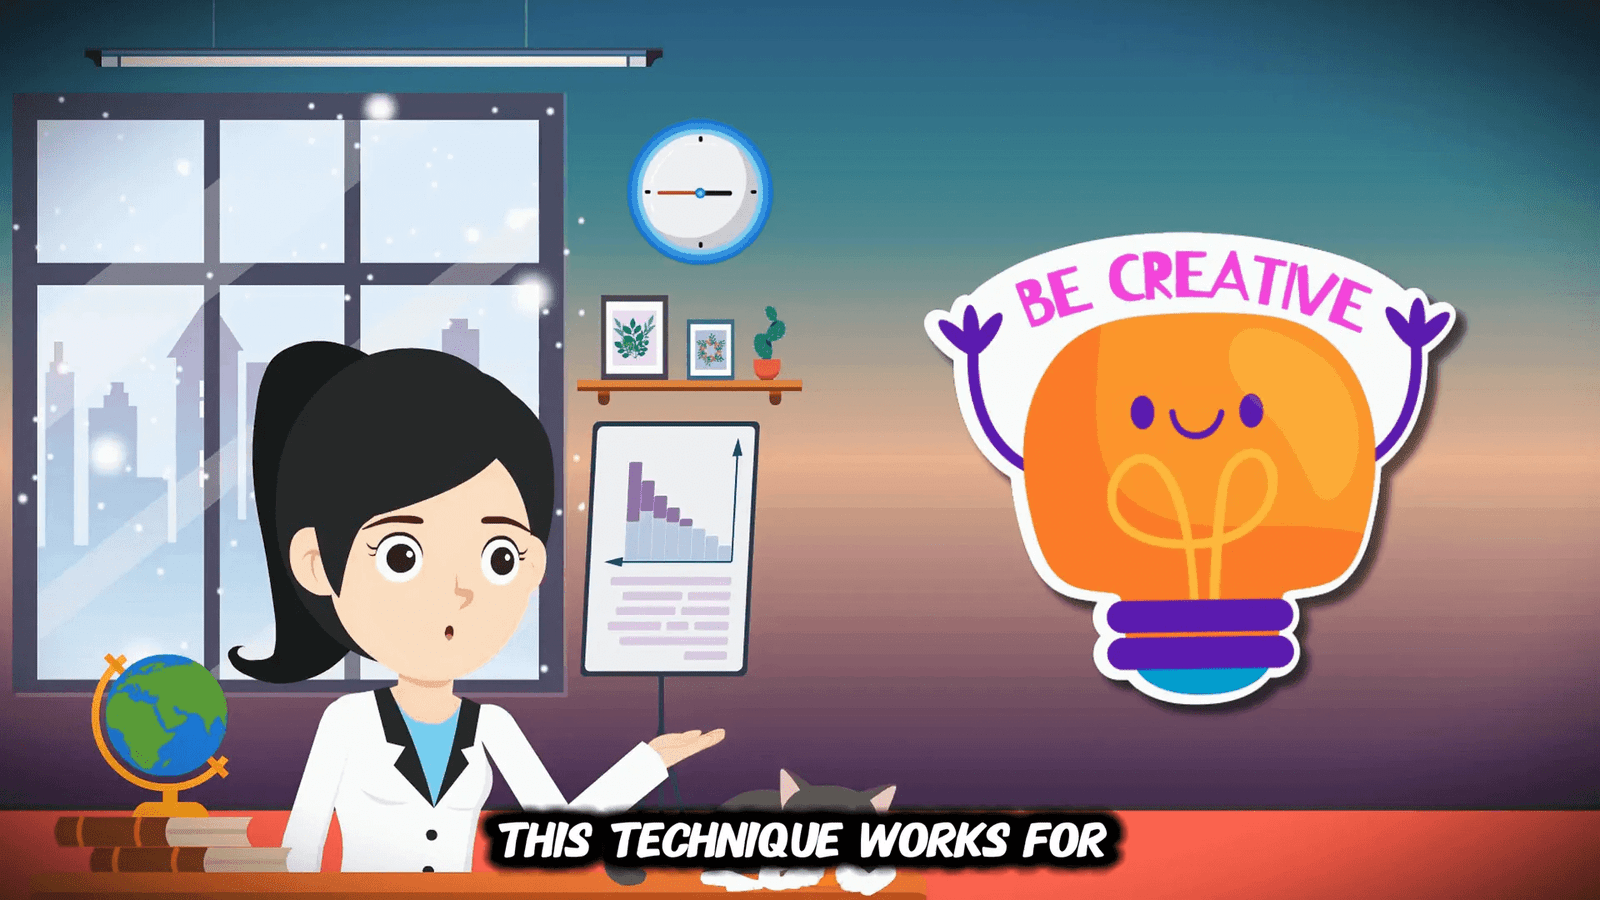
With these techniques, you can transform your video content into visually stunning pieces that capture attention. Experiment with different styles, animations, and effects to find what works best for your brand. The Canva video editor is a continually evolving tool, so keep an eye out for new features that can further enhance your creativity.
Remember, the best way to improve is through practice. Try creating short videos using these techniques, and you’ll be amazed at how professional your content can look with just a few tools. Happy creating!
Free Download for the Ultimate Guide For Canva Video Editor
FAQS About Canva Video Editor
- Is Canva’s video editor free? Yes, Canva offers a free version with numerous features, but some premium elements require a paid subscription.
- Can I use my music in Canva? Absolutely! You can upload your audio files to incorporate into your videos.
- What are the best practices for video length? For social media, aim for shorter videos (15-30 seconds), while longer content (1-5 minutes) works well for platforms like YouTube.
- Can I access Canva on mobile? Yes, Canva has a mobile app that allows you to edit and create videos on the go!
- How can I find free elements in Canva? Use the search feature and apply filters to find free graphics, videos, and music.
For more inspiration and practical guides on Canva, check out these helpful articles: